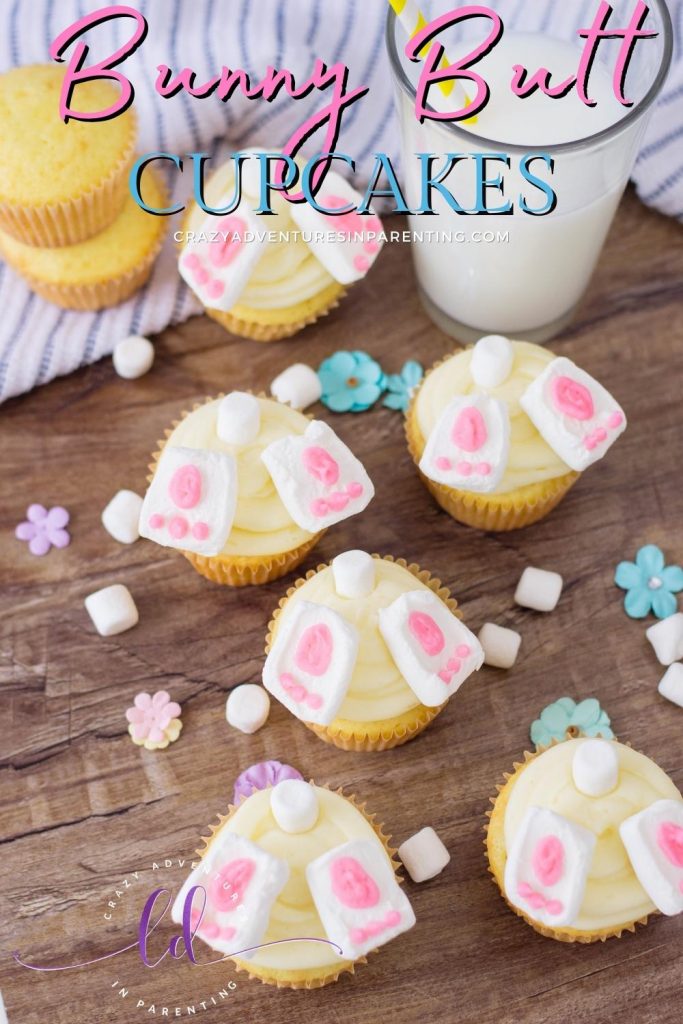
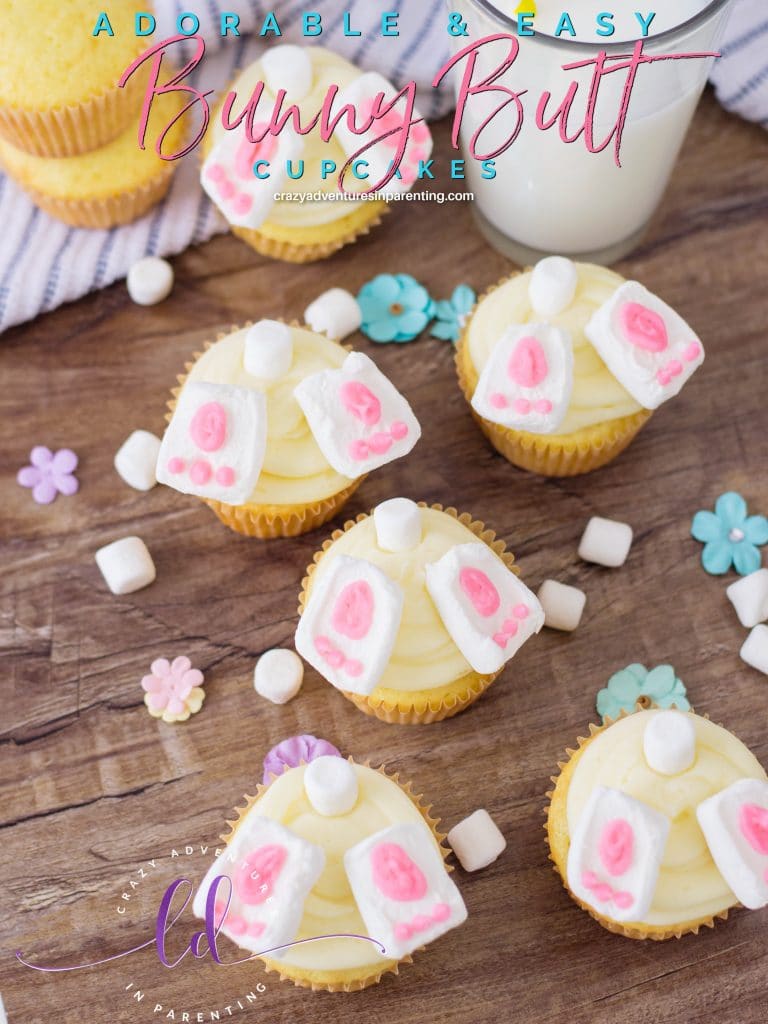
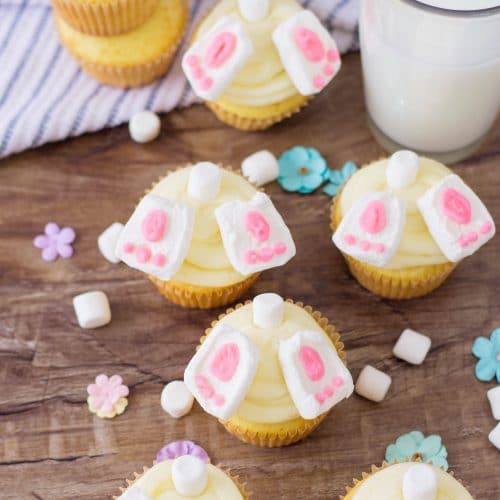
If you’re looking for a fun Easter dessert recipe to make with the kids for your Easter celebration, check out these adorable and fun to decorate Bunny Butt Cupcakes!
This post may contain affiliate links which means we receive a small commission at no cost to you when you make a purchase. As an Amazon Associate I earn from qualifying purchases.
Bunny Butt Cupcakes
Oh my gosh, you guys! I swear the new year just began and suddenly we’re in to April and talking about Easter celebrations? Say what now? 😅

Despite my confusion over the speed of time LOL, we’re busy baking up some fun Easter treats for the big day to include these adoooorable Bunny Butt Cupcakes! They are entirely TOO CUTE and I absolutely must encourage you to make these with your kiddos ASAP! These pair really well alongside our recipe for Bunny Butt Cookies as well!
Where Can I Find The Actual Recipe Card?
If you’d rather skip all of my cupcake decorating tips, important information for this recipe, and similar recipe ideas – and get straight to the Bunny Butt Cupcakes recipe, just scroll down to the bottom, where you’ll find a printable recipe card.
Can These Bunny Butt Cupcakes Be Made Ahead of Time?
Absolutely, especially if you have a sealed storage container for cupcakes! Go ahead and save yourself the baking time on the day of and make these the day before, but I strongly encourage you get a container that seals to keep the homemade buttercream frosting and marshmallows safe and soft for the big day.
Kitchen Tools and Equipment Needed to Make Bunny Butt Cupcakes
In order to make these crazy cute Bunny Butt Cupcakes for Easter, you will need to gather the following kitchen tools to use in this recipe:
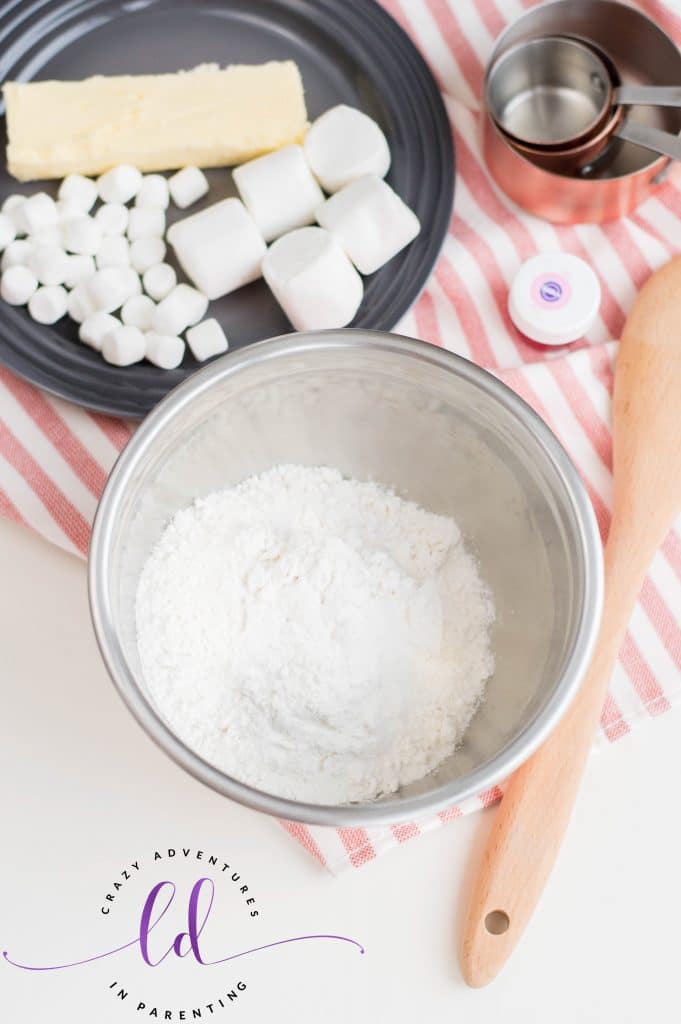
Ingredients Needed to Make Bunny Butt Cupcakes
To make these adorable Easter Bunny Butt Cupcakes, you will need to gather the following ingredients:
Keep in mind, all of the ingredient amounts you’ll need are in the printable recipe card below.
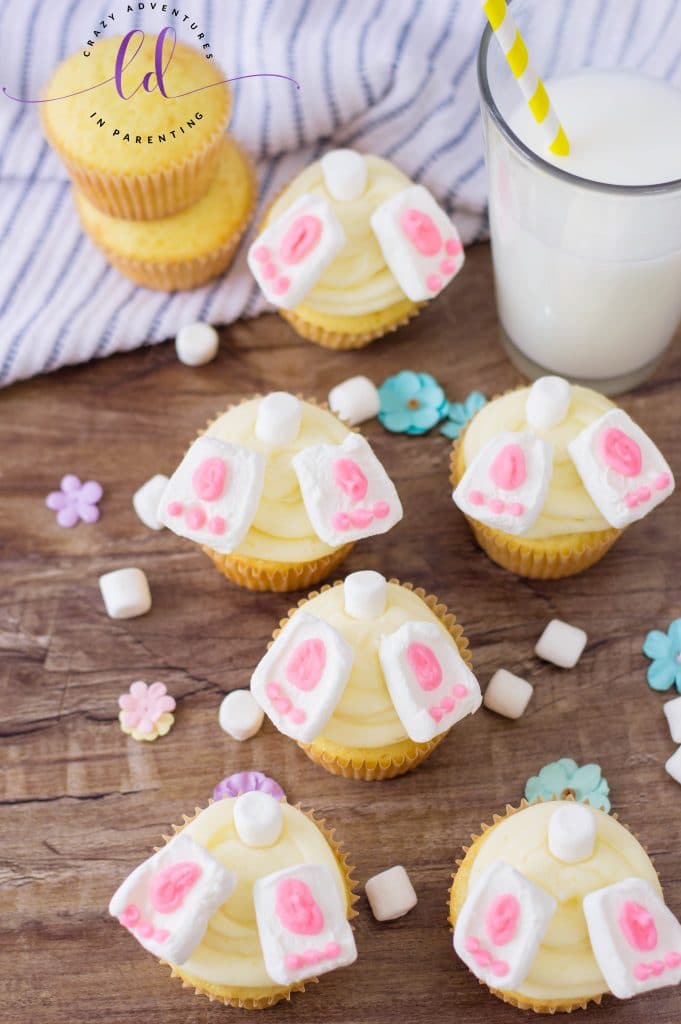
How to Make Bunny Butt Cupcakes
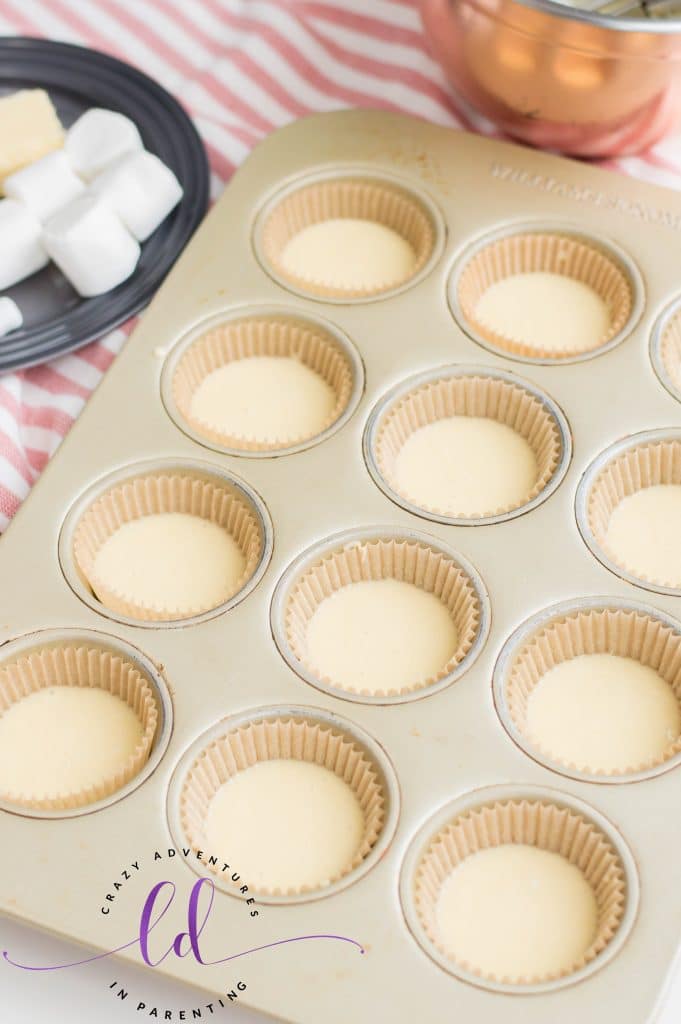
Line your cupcake tins with the cupcake liners of your choosing (whether paper or silicone). Preheat your oven according to cake mix’s directions.
Prepare cupcakes according to cake mix’s directions and bake accordingly. Allow the baked cupcakes to cool completely on a wire cooling rack before decorating.
As the cupcakes cool, prepare the bunny toppings. Cut each regular-sized marshmallow in half, lengthwise. Line up the marshmallow halves on wax paper, bottom side up.
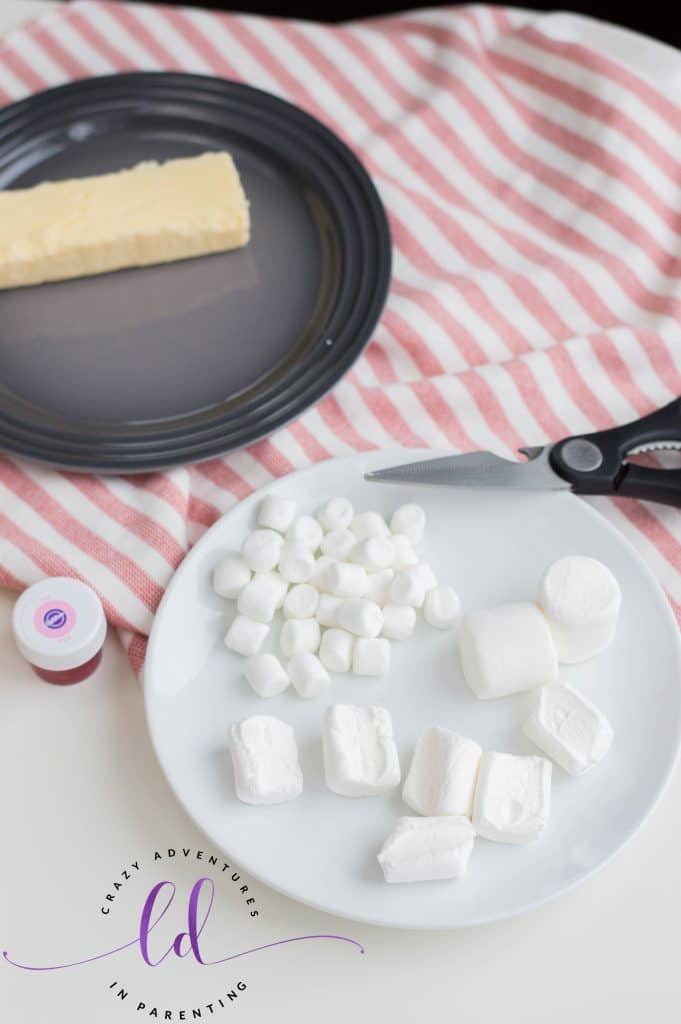
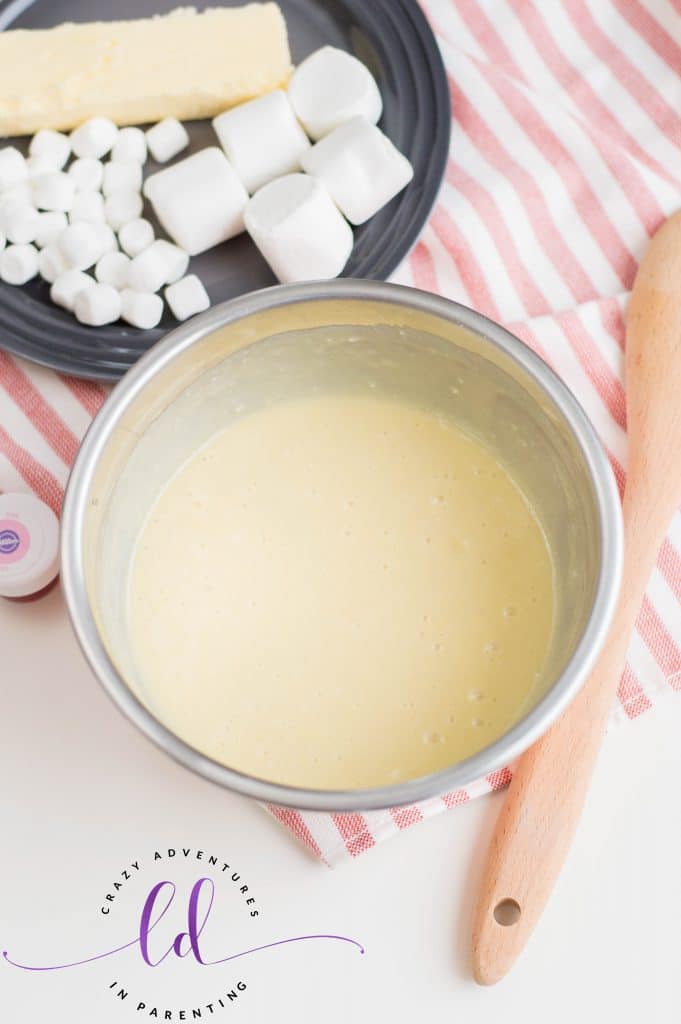
In a large bowl, mix together softened butter, confectioners’ sugar and milk with an electric or stand mixer. Start on low and increase to high to get it fully whipped and blended thoroughly.
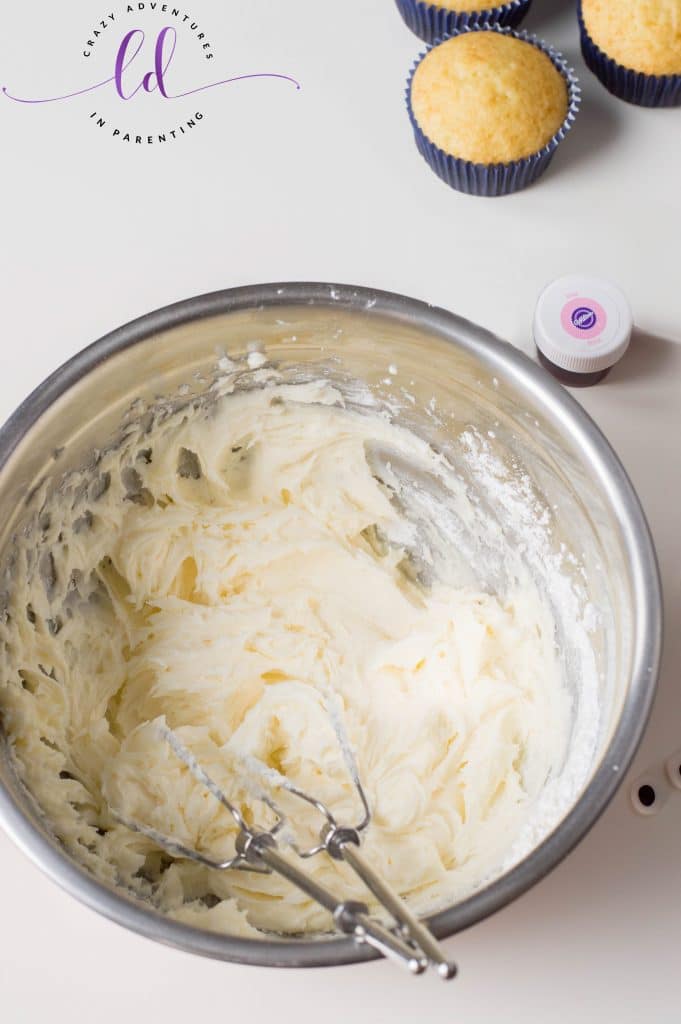
Once all ingredients are well combined and smooth, the buttercream is complete and ready to proceed.
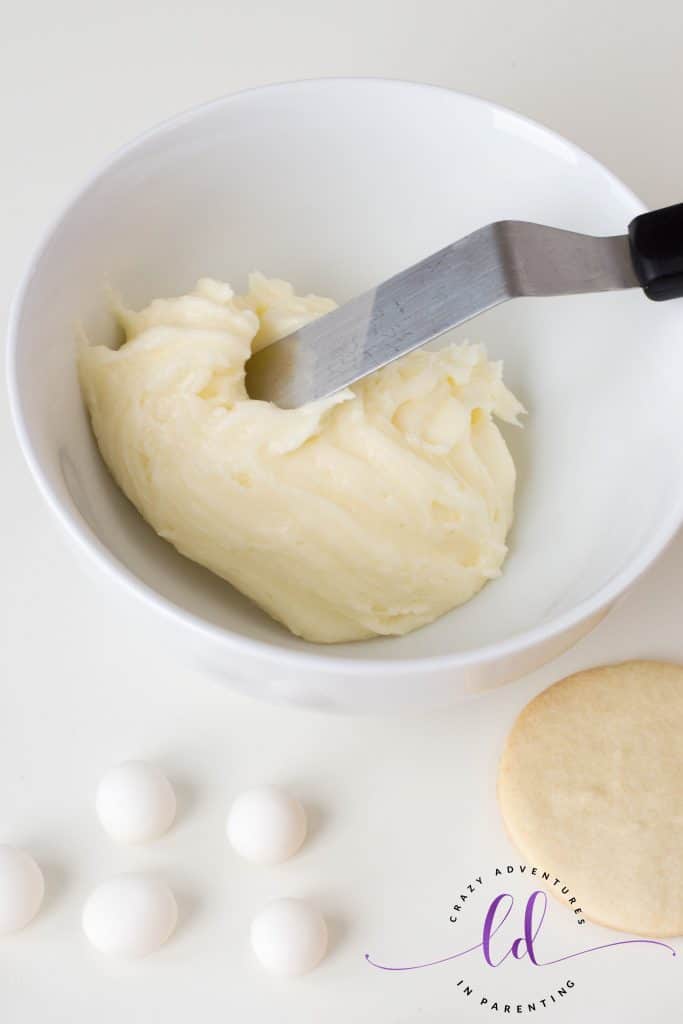
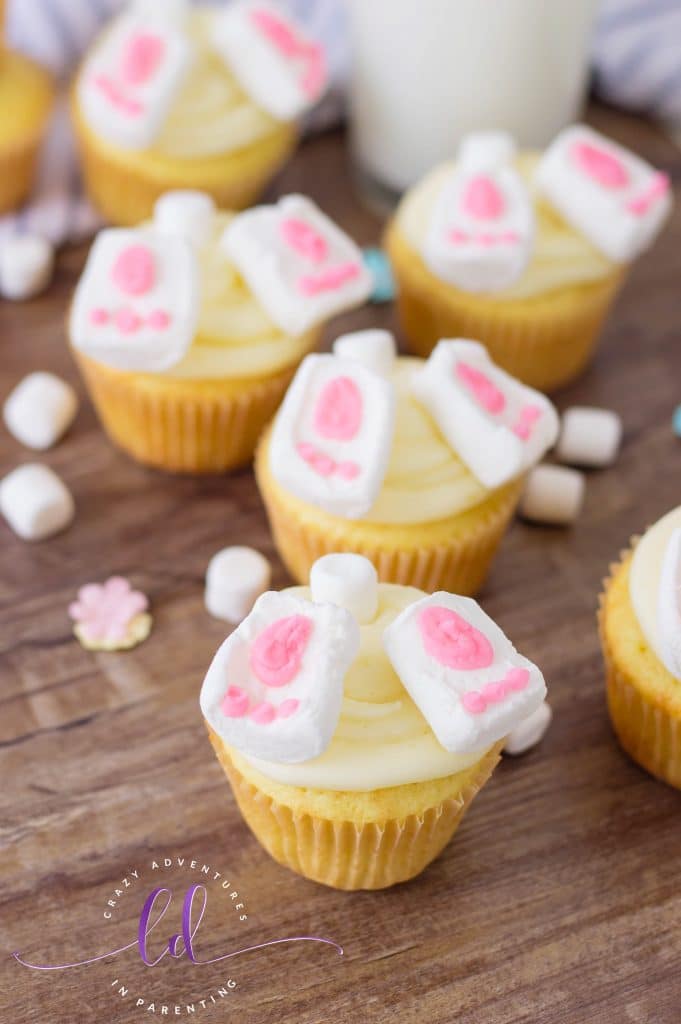
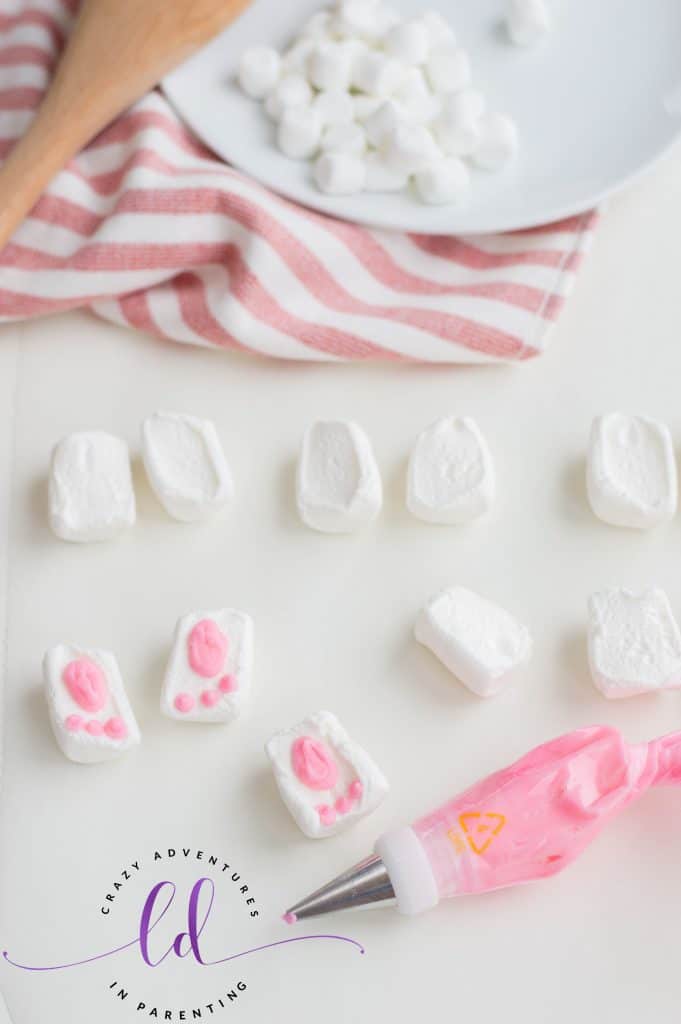
Scoop a ¼ cup of the buttercream into a separate bowl and tint with one small drop of pink gel food coloring. Scoop pink buttercream into a piping bag with Wilton tip #5 attached. Frost 3 small circles on the bottom of each marshmallow, followed by a large oval on top.
Scoop the remaining un-tinted buttercream into another piping bag with Wilton tip #12 attached and frost each cupcake in a circular pattern.
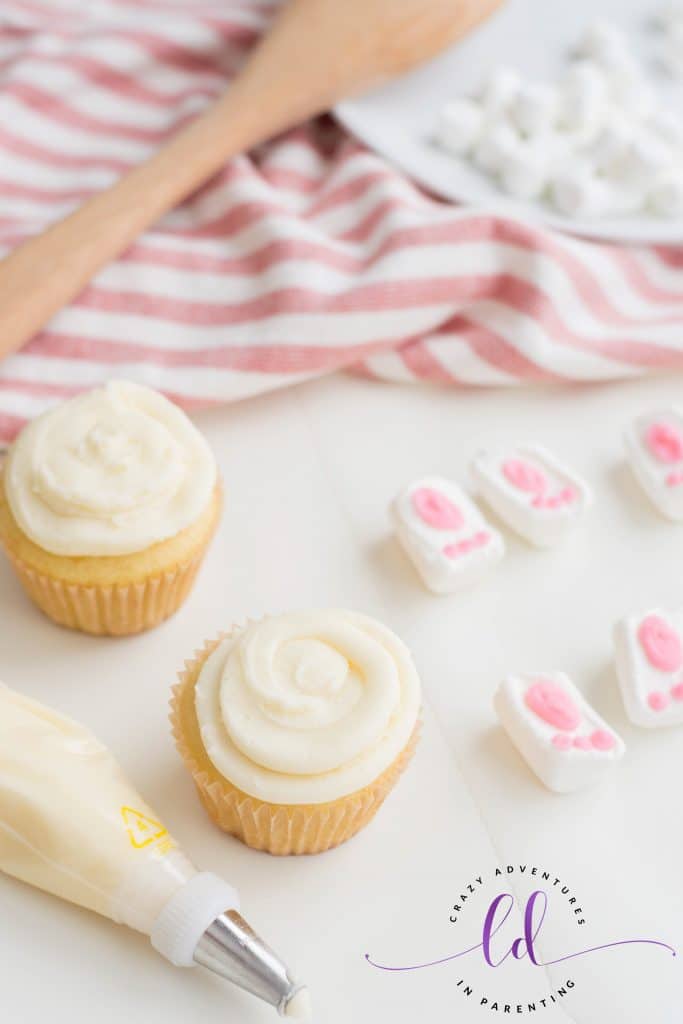
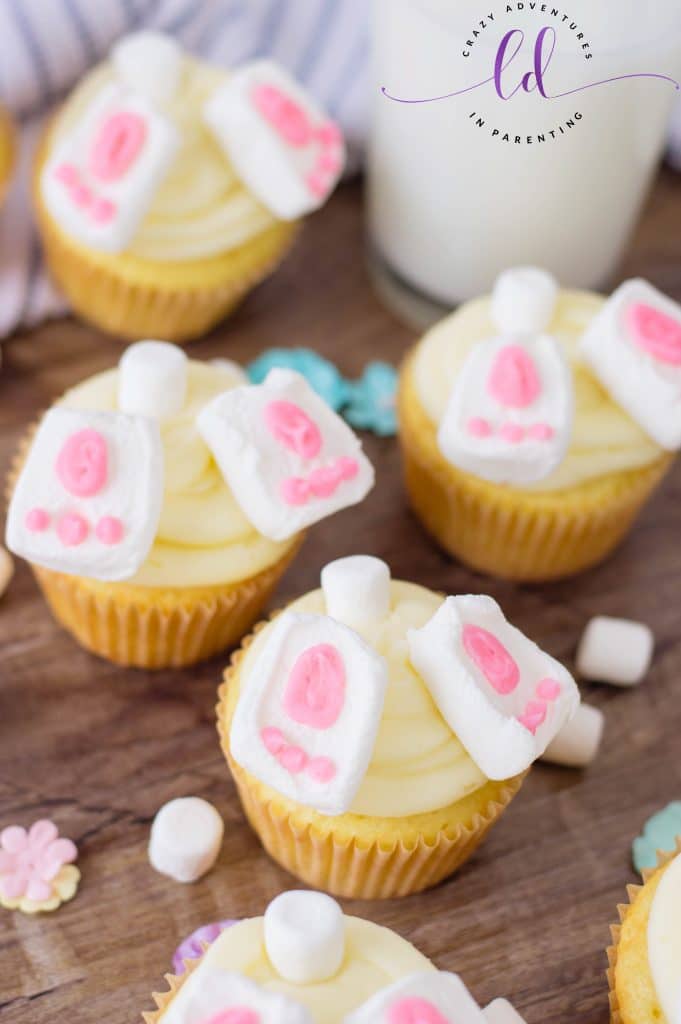
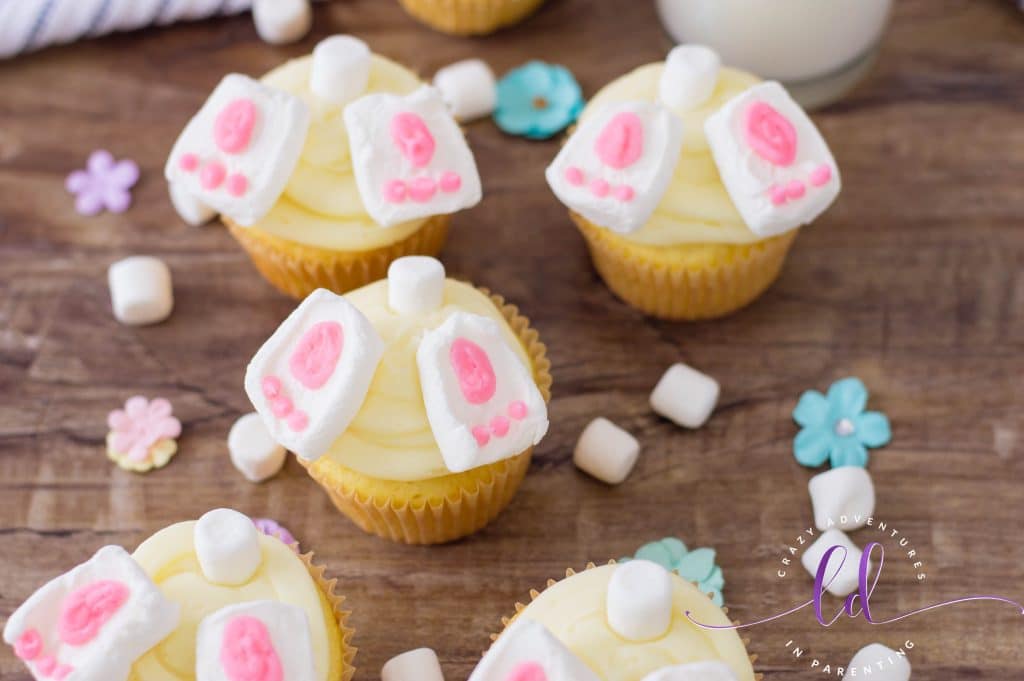
Place one mini marshmallow at the top of each cupcake to represent the bunny’s “tail” while placing two “bunny feet” on each cupcake at the bottom, angling slightly outward. Repeat for each cupcake until they’re all decorated with a “tail” and “two feet” on each!
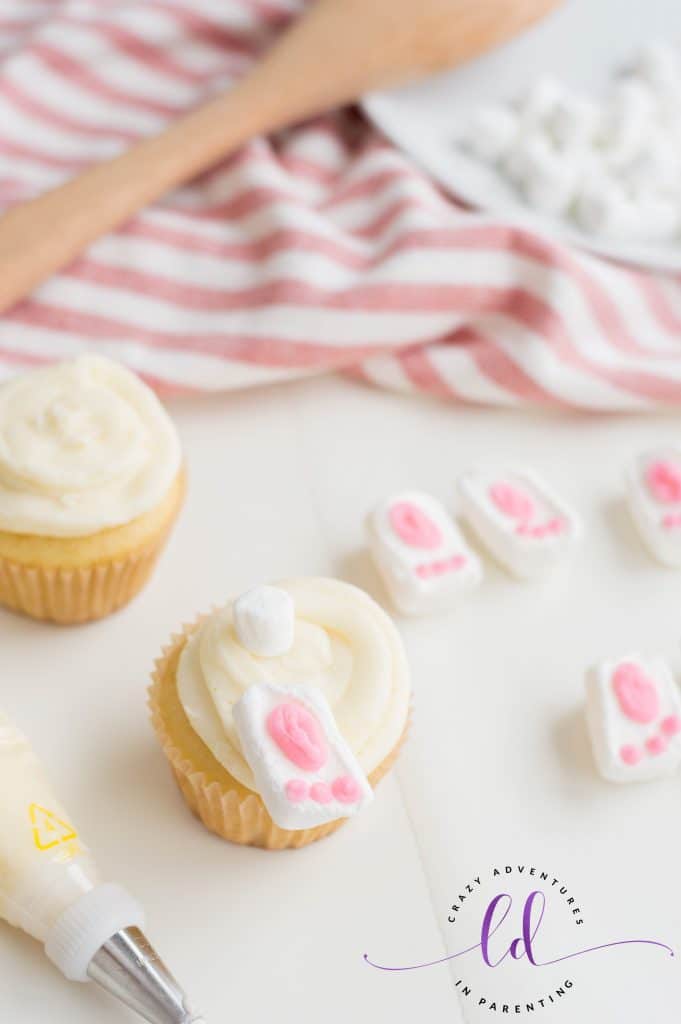
Serve and enjoy!
Other Easter Recipes to Try
Check out our other adorably festive Easter treats and more!
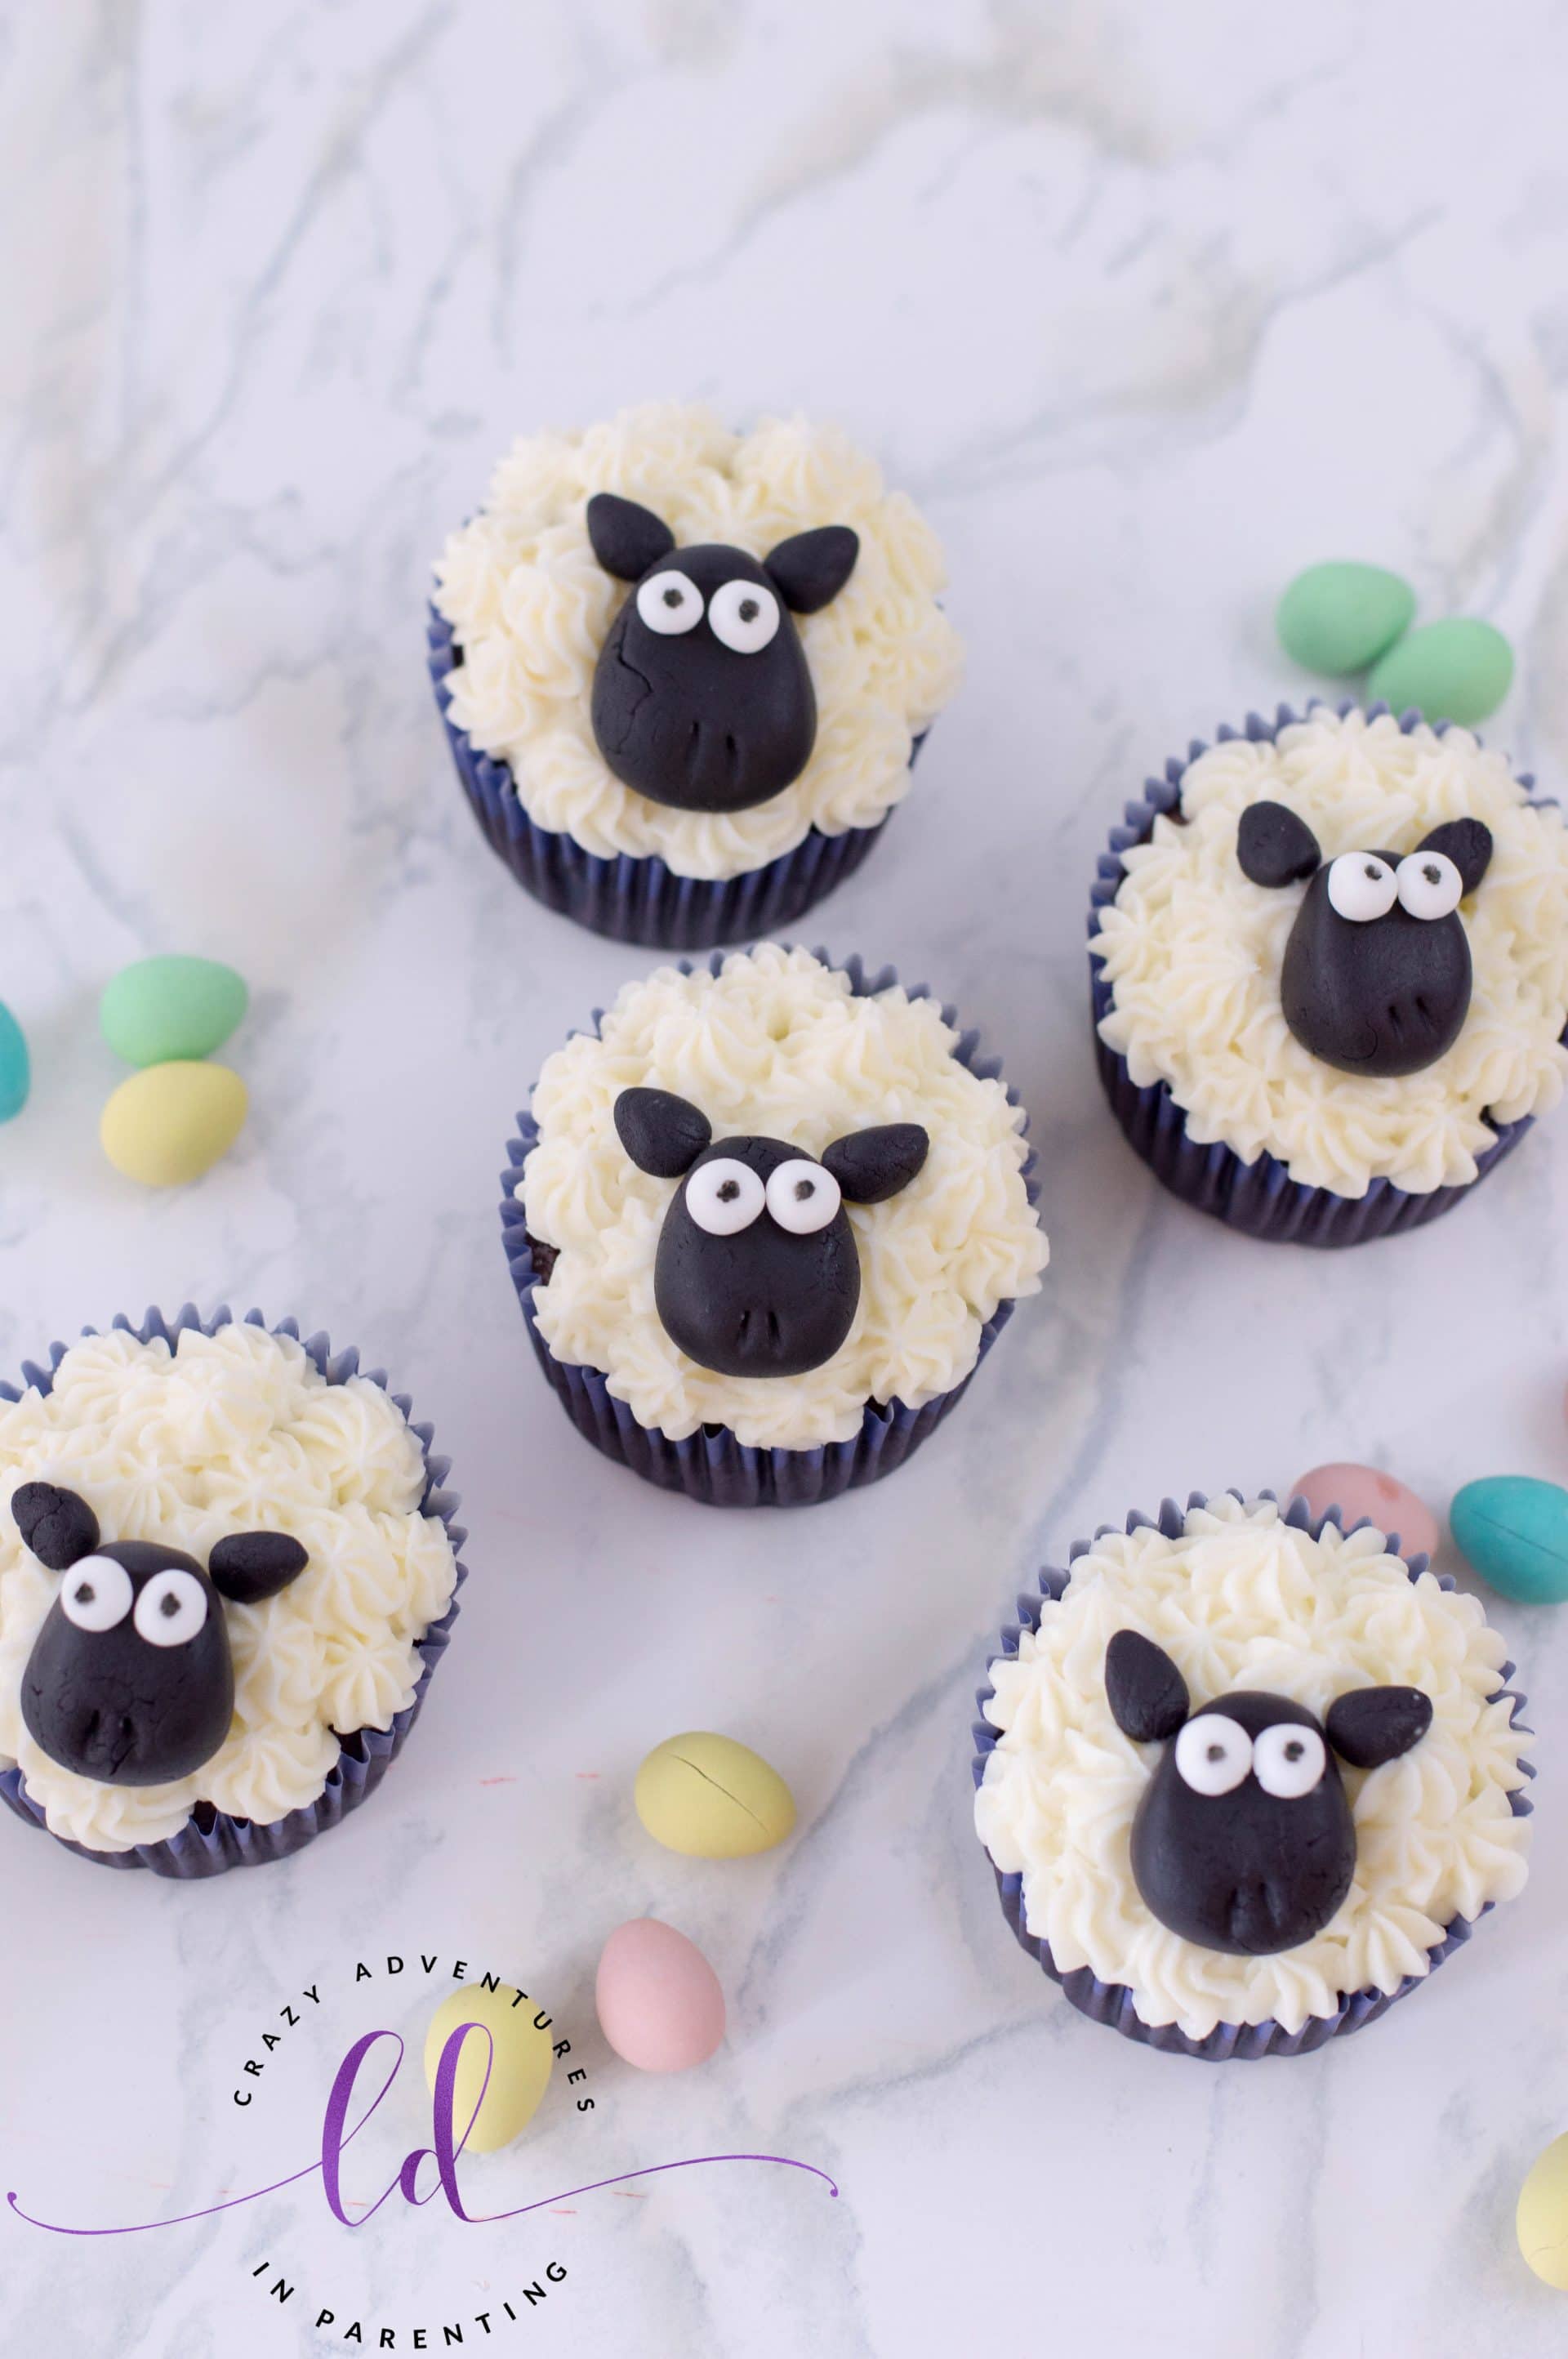
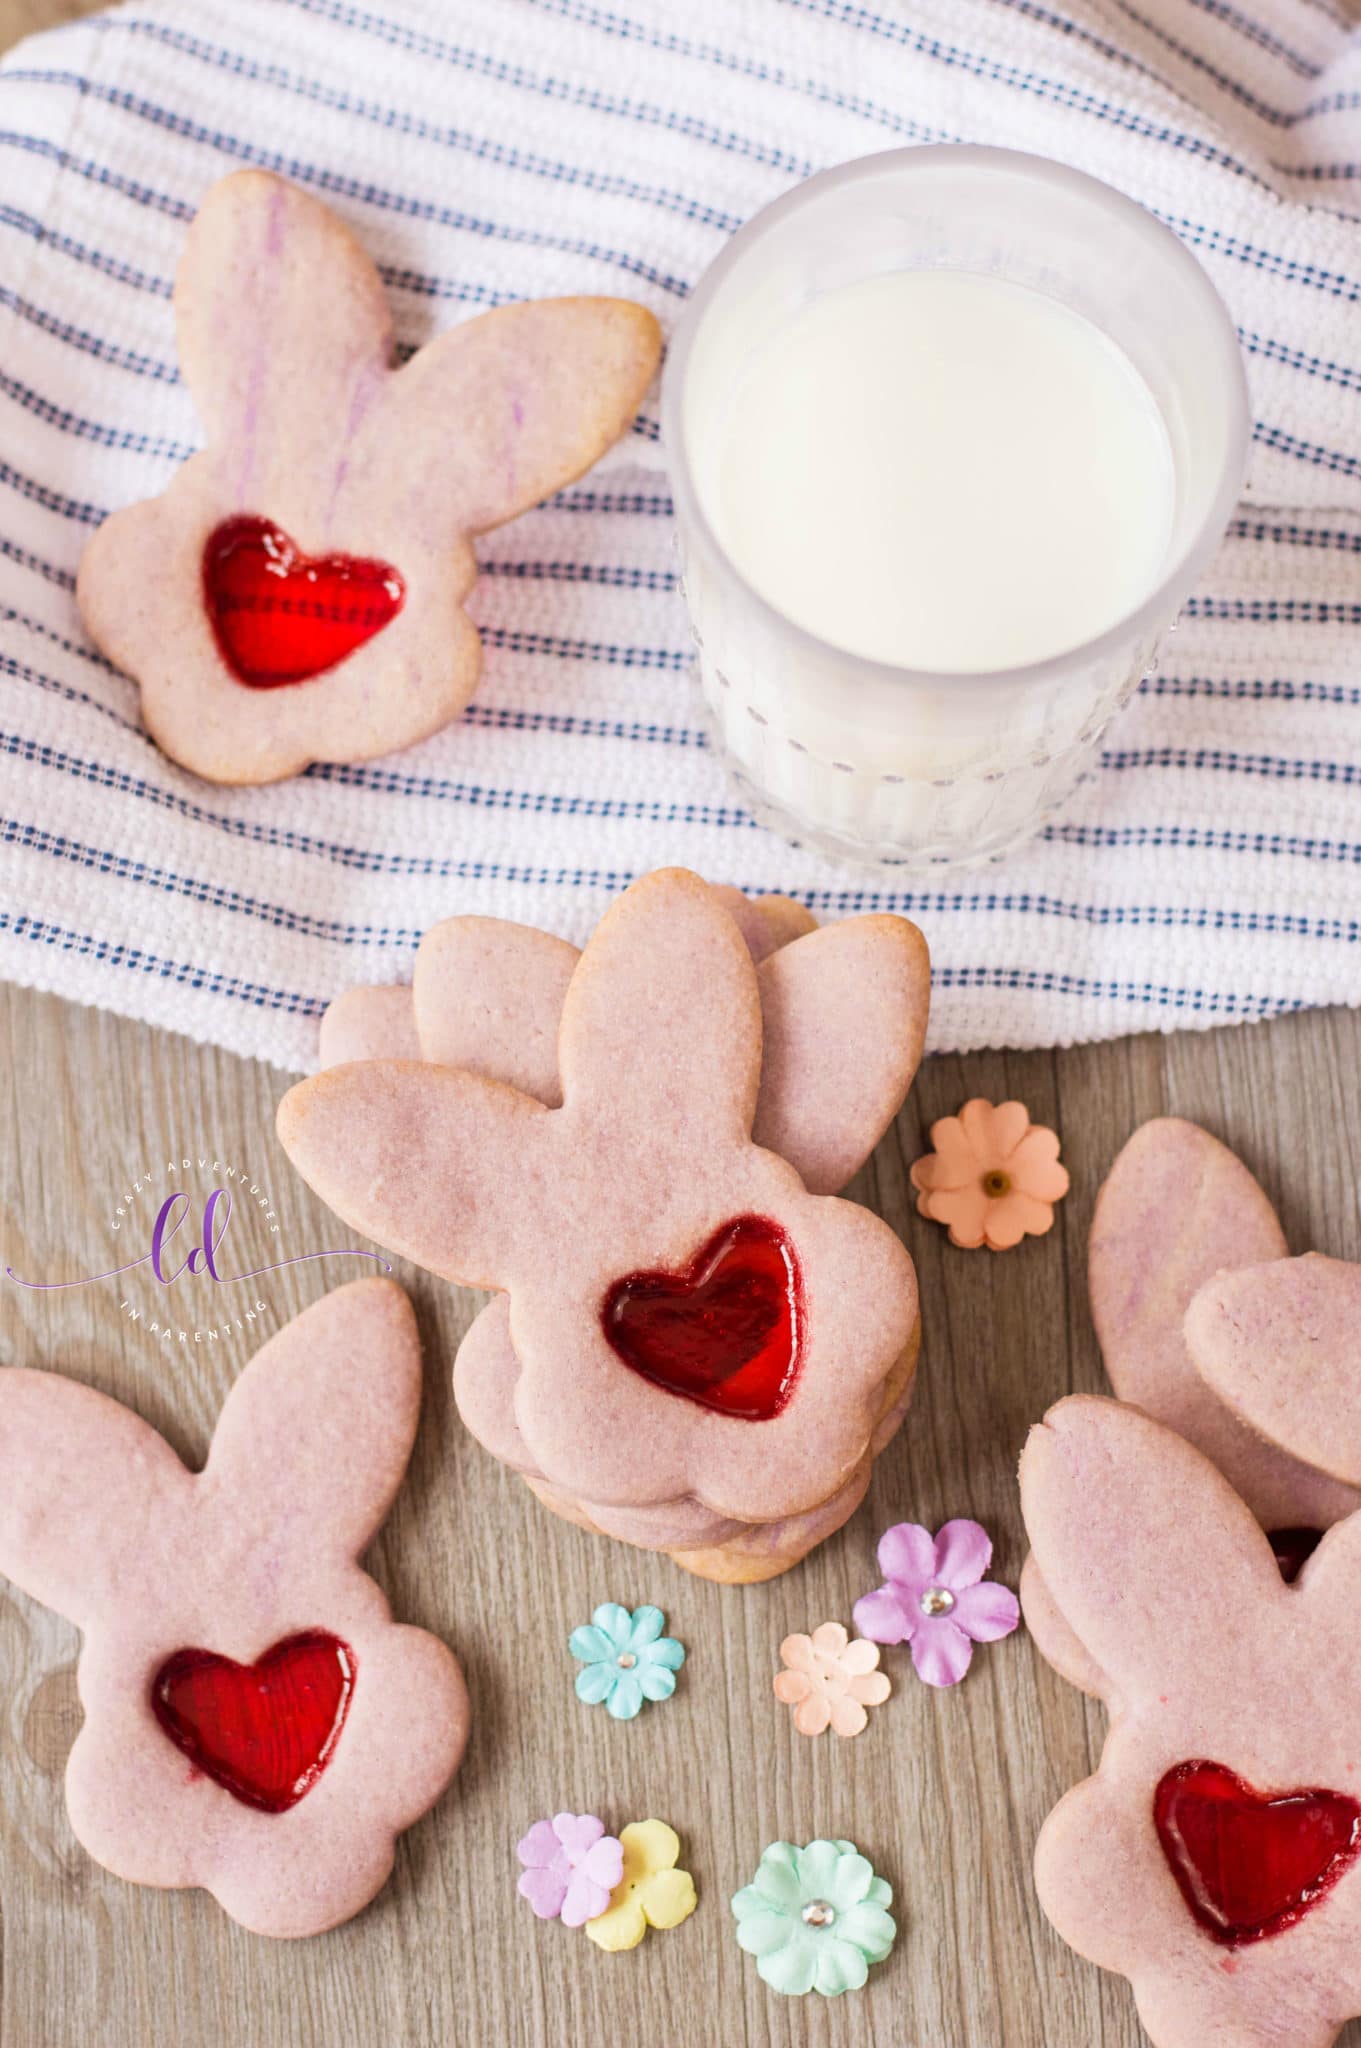
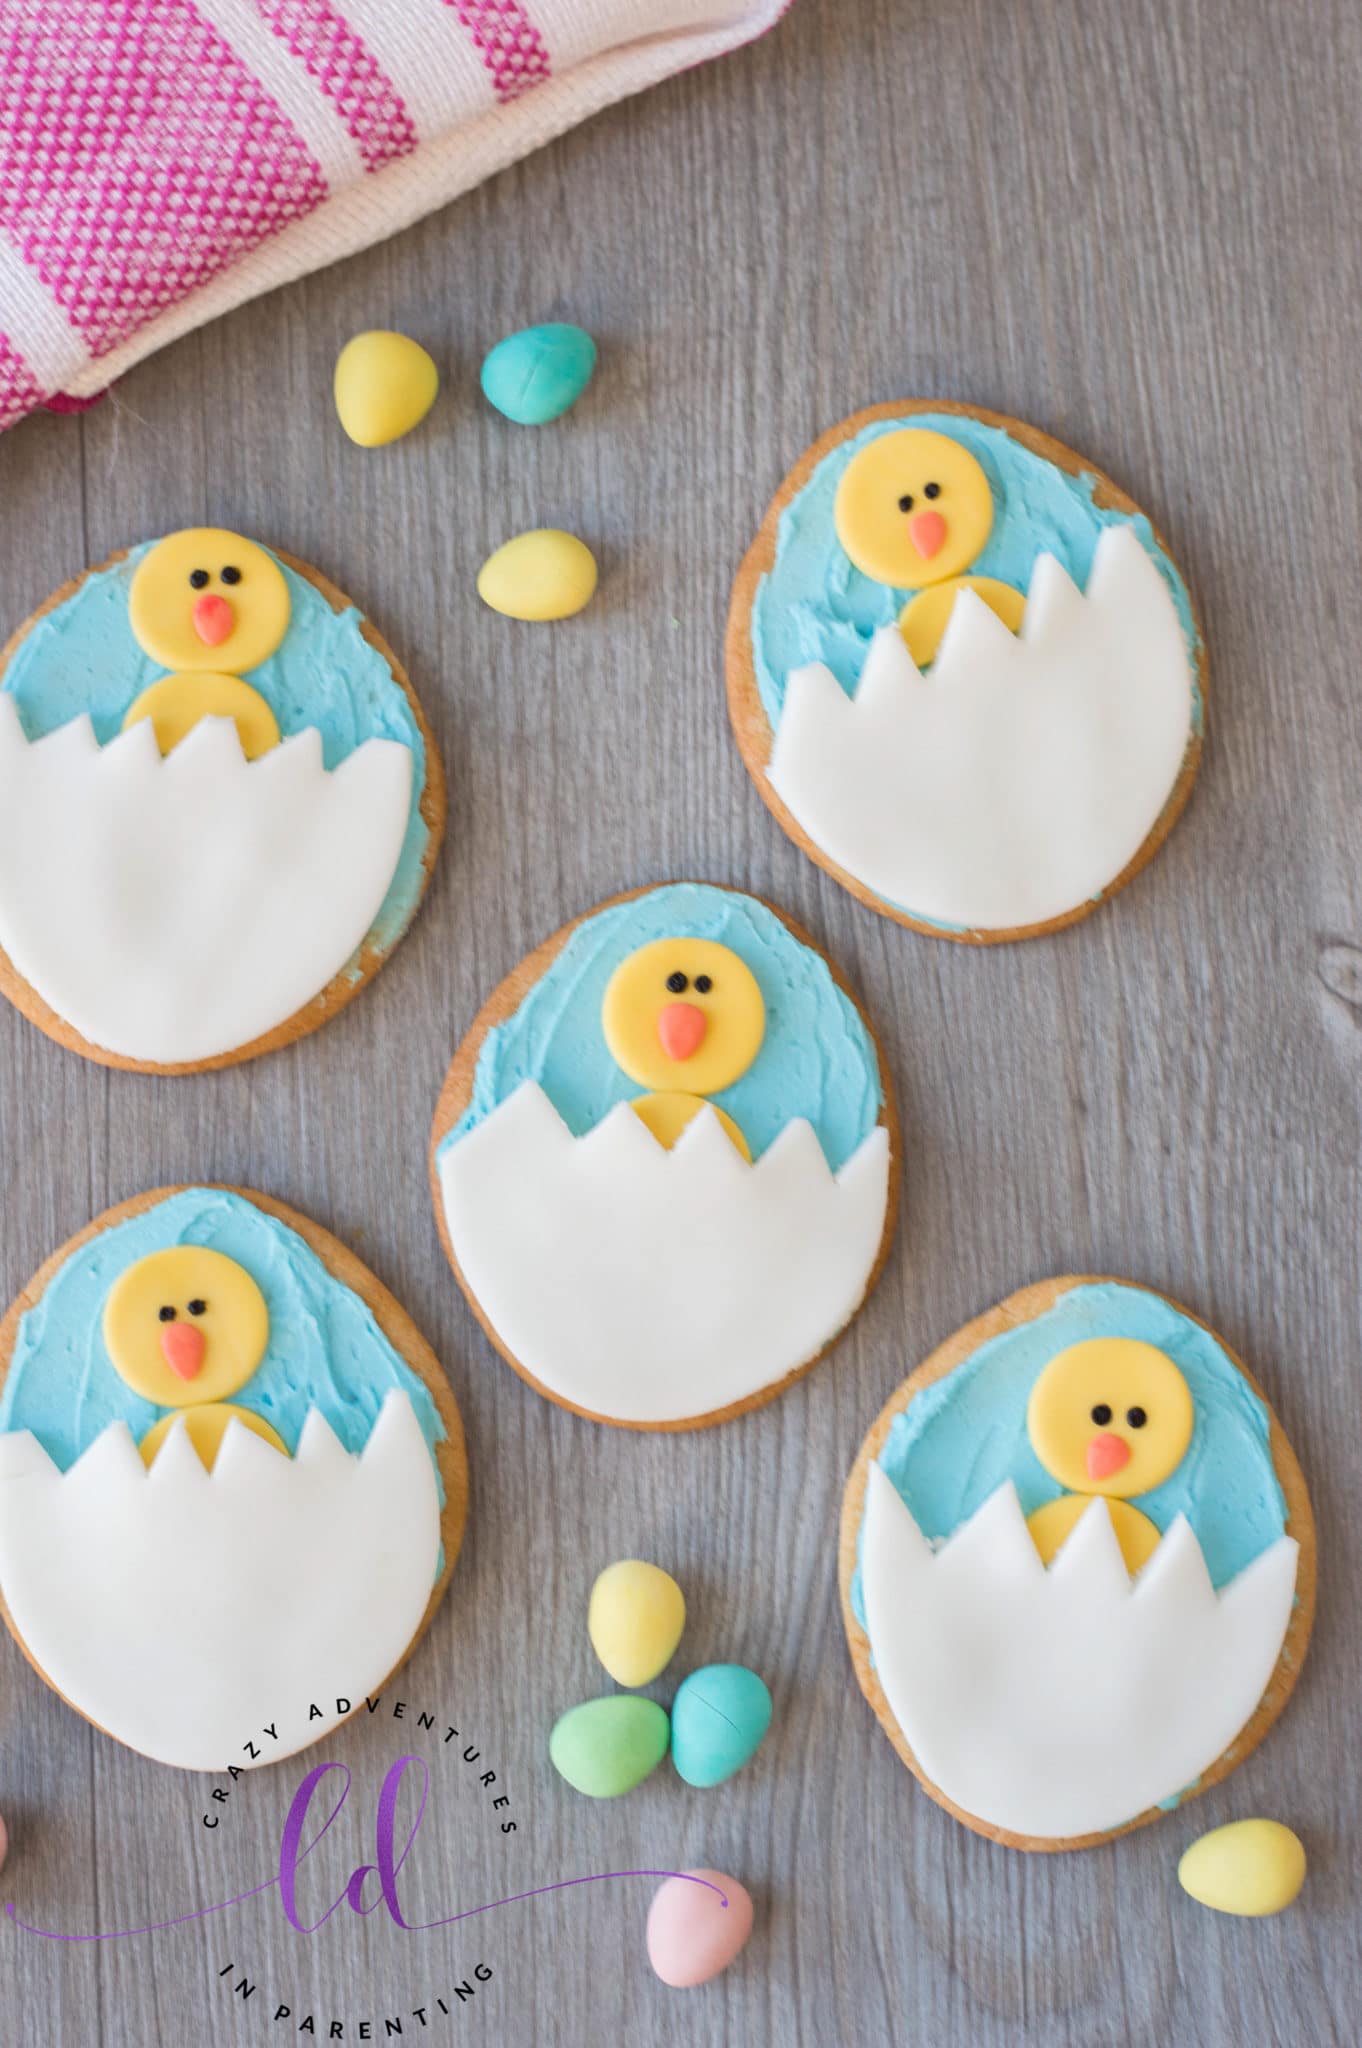
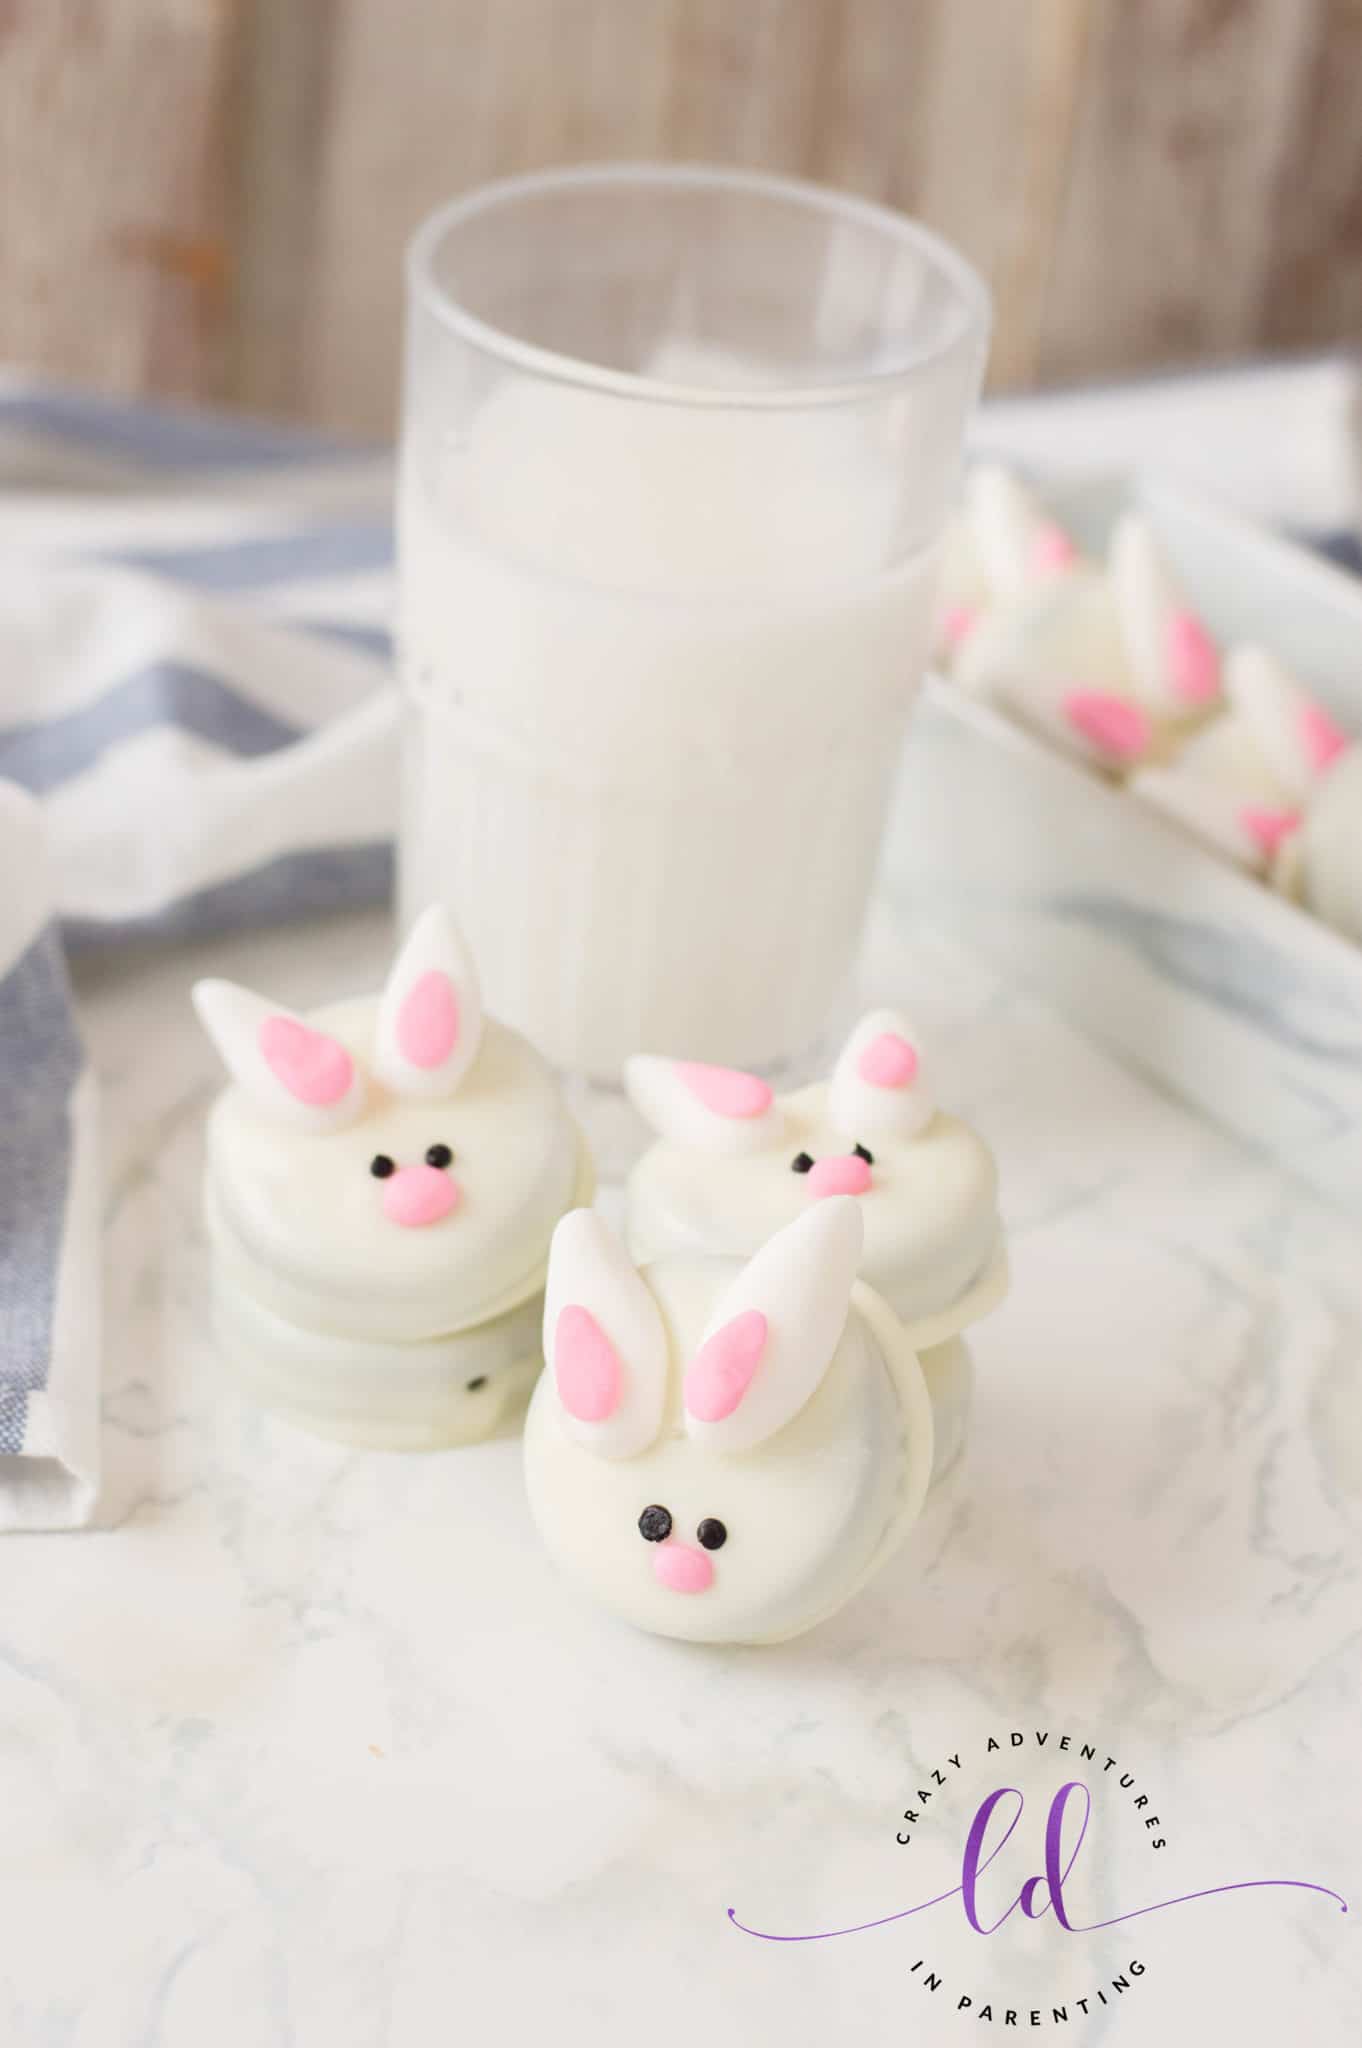
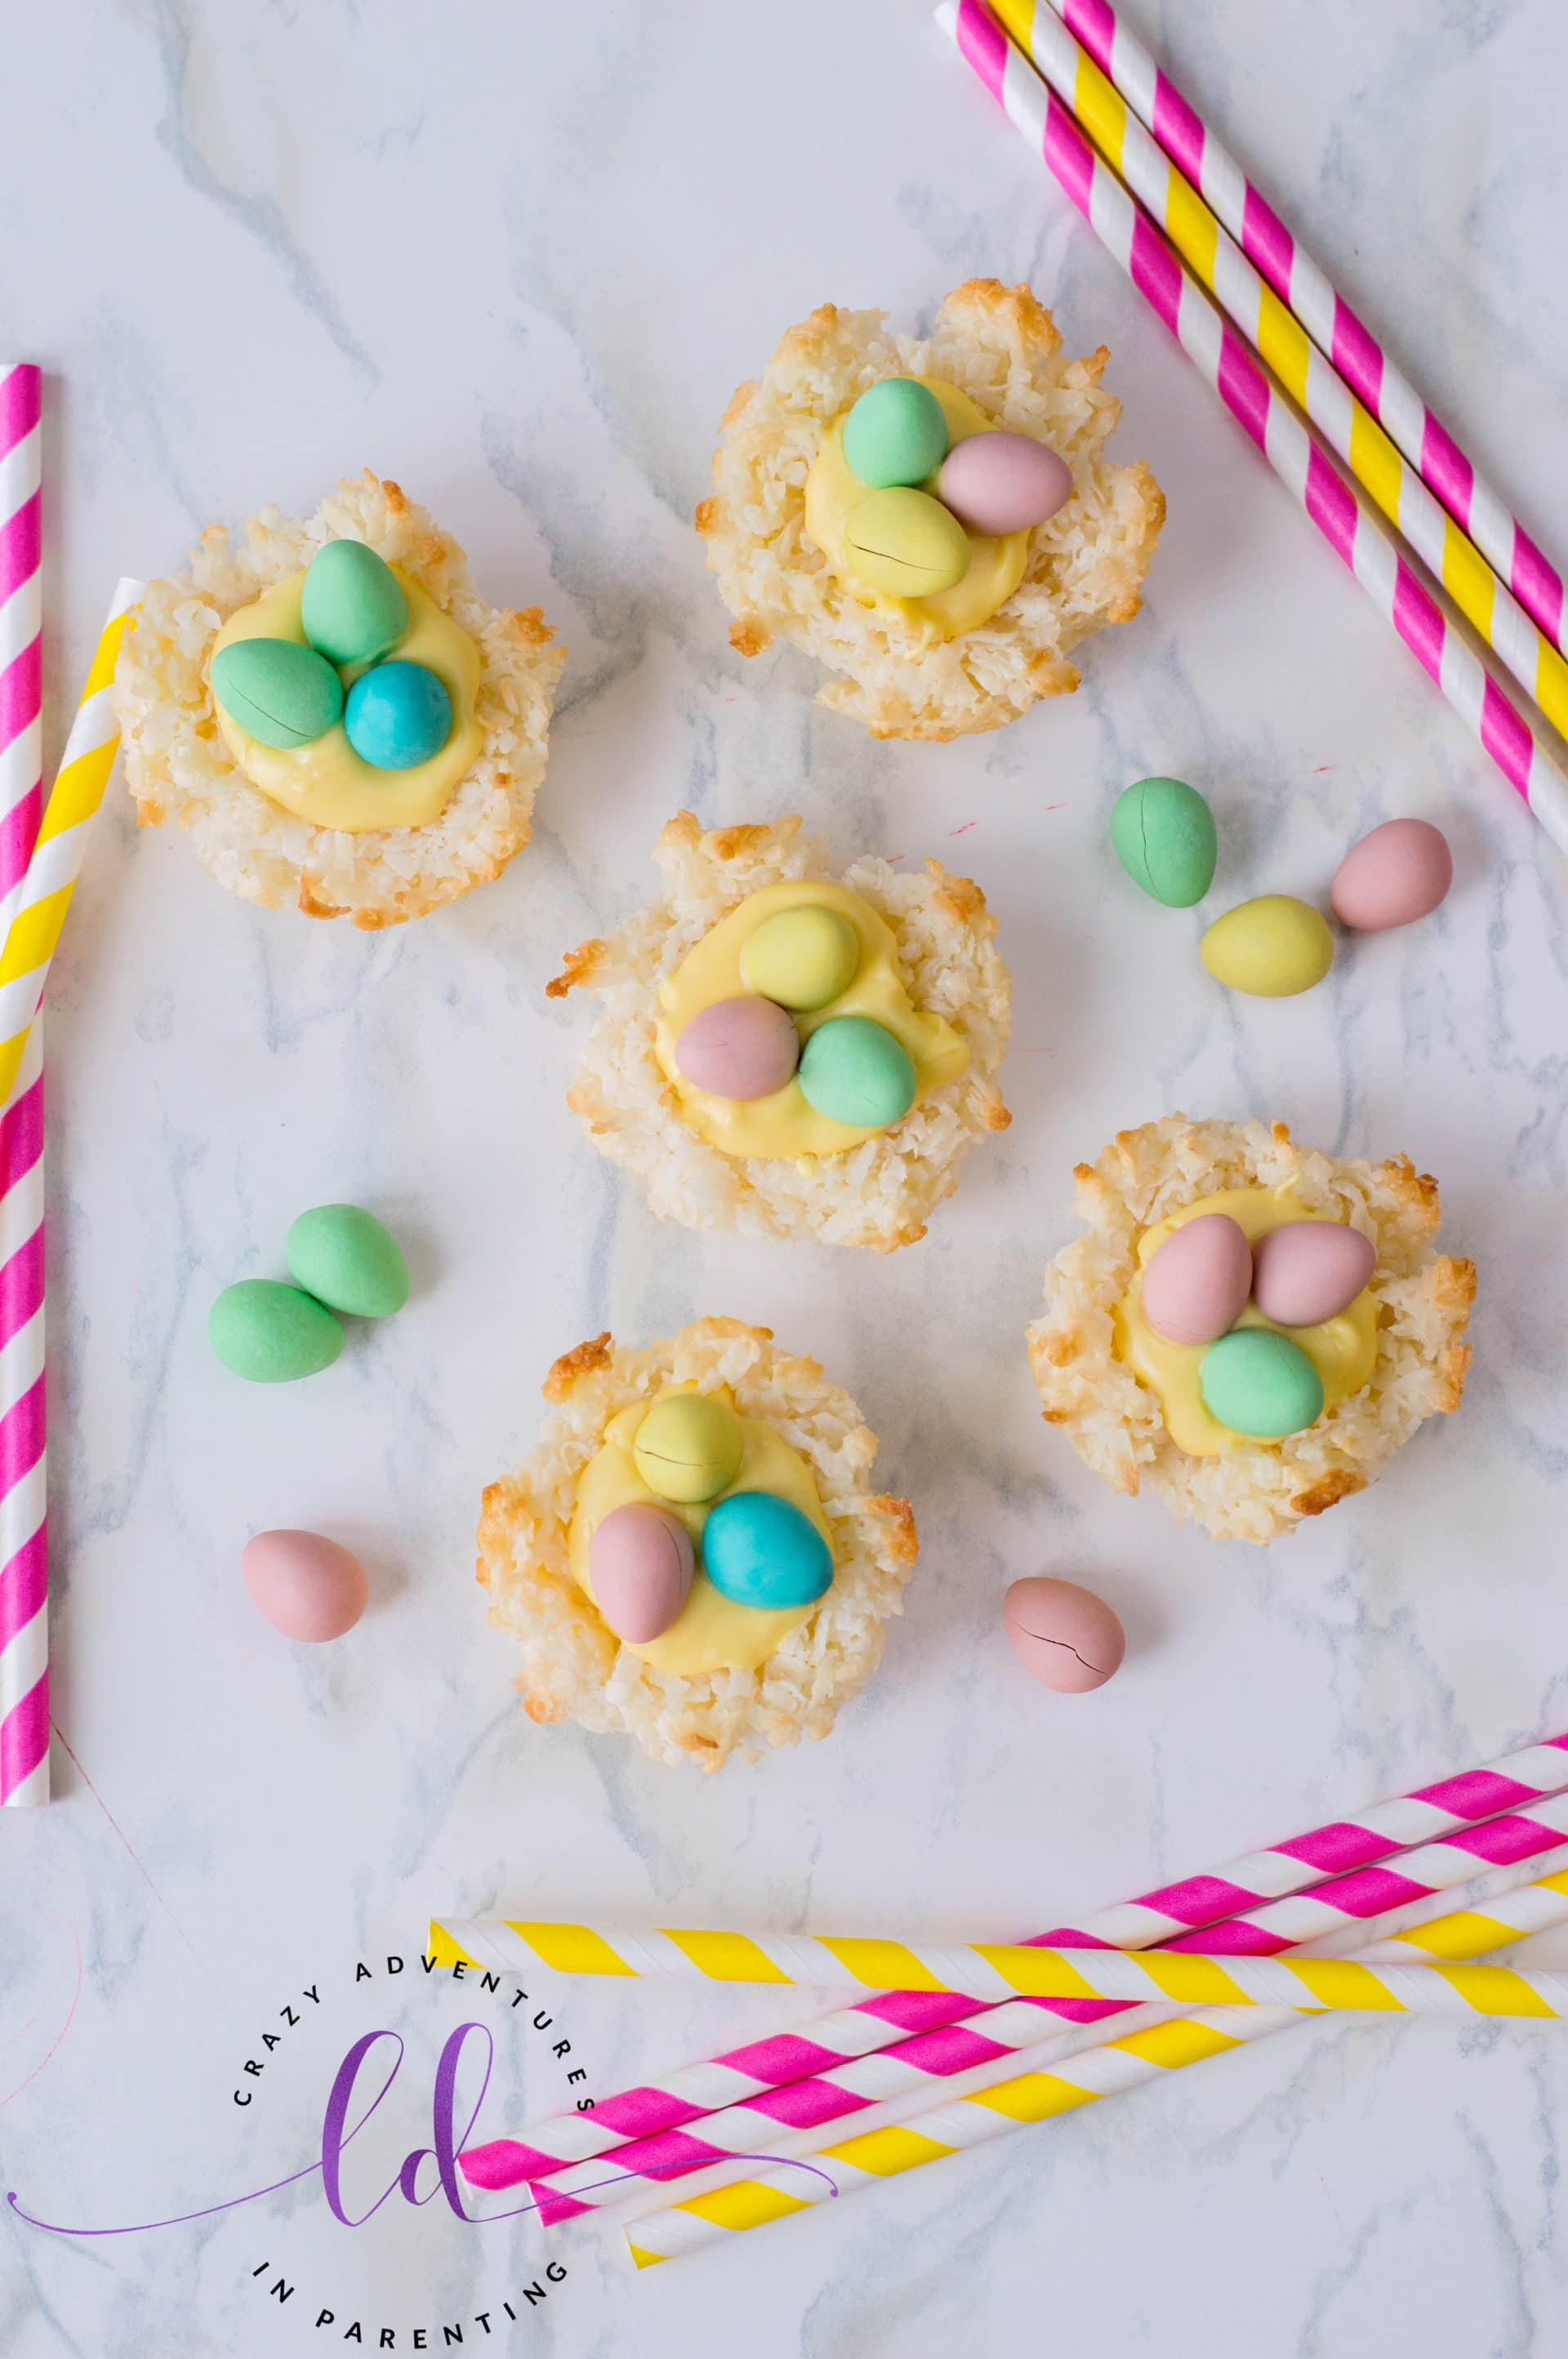
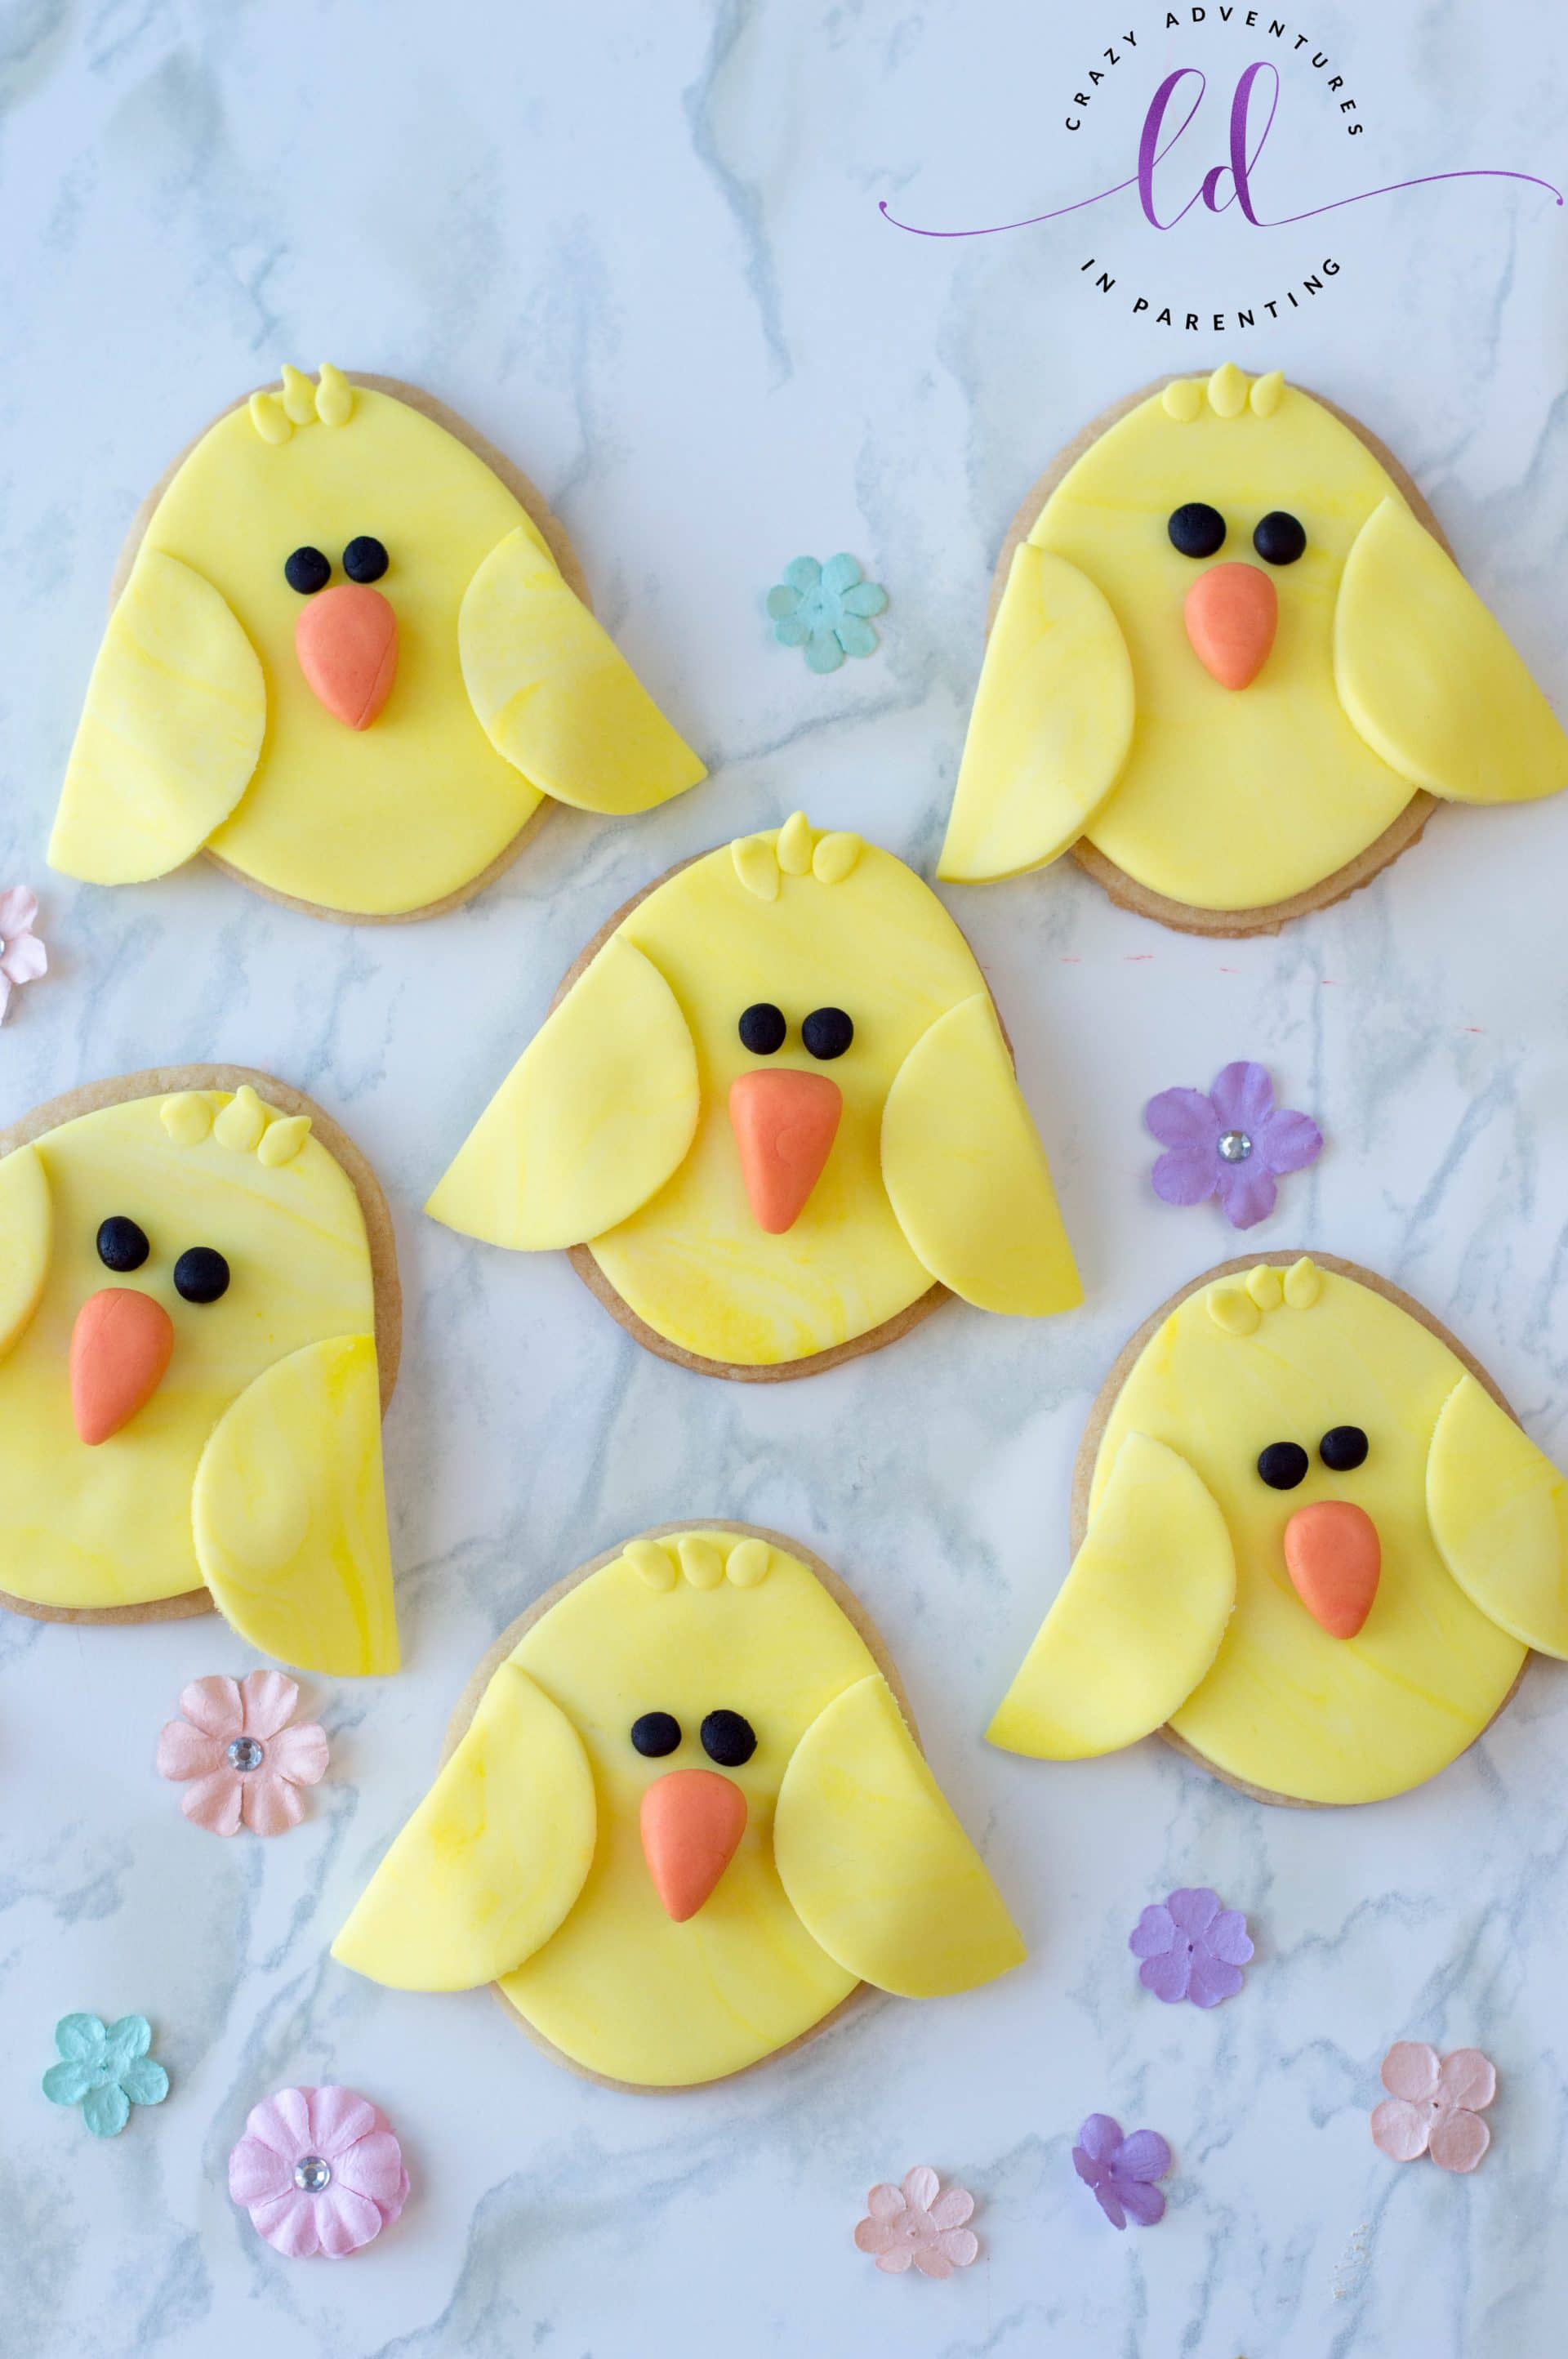
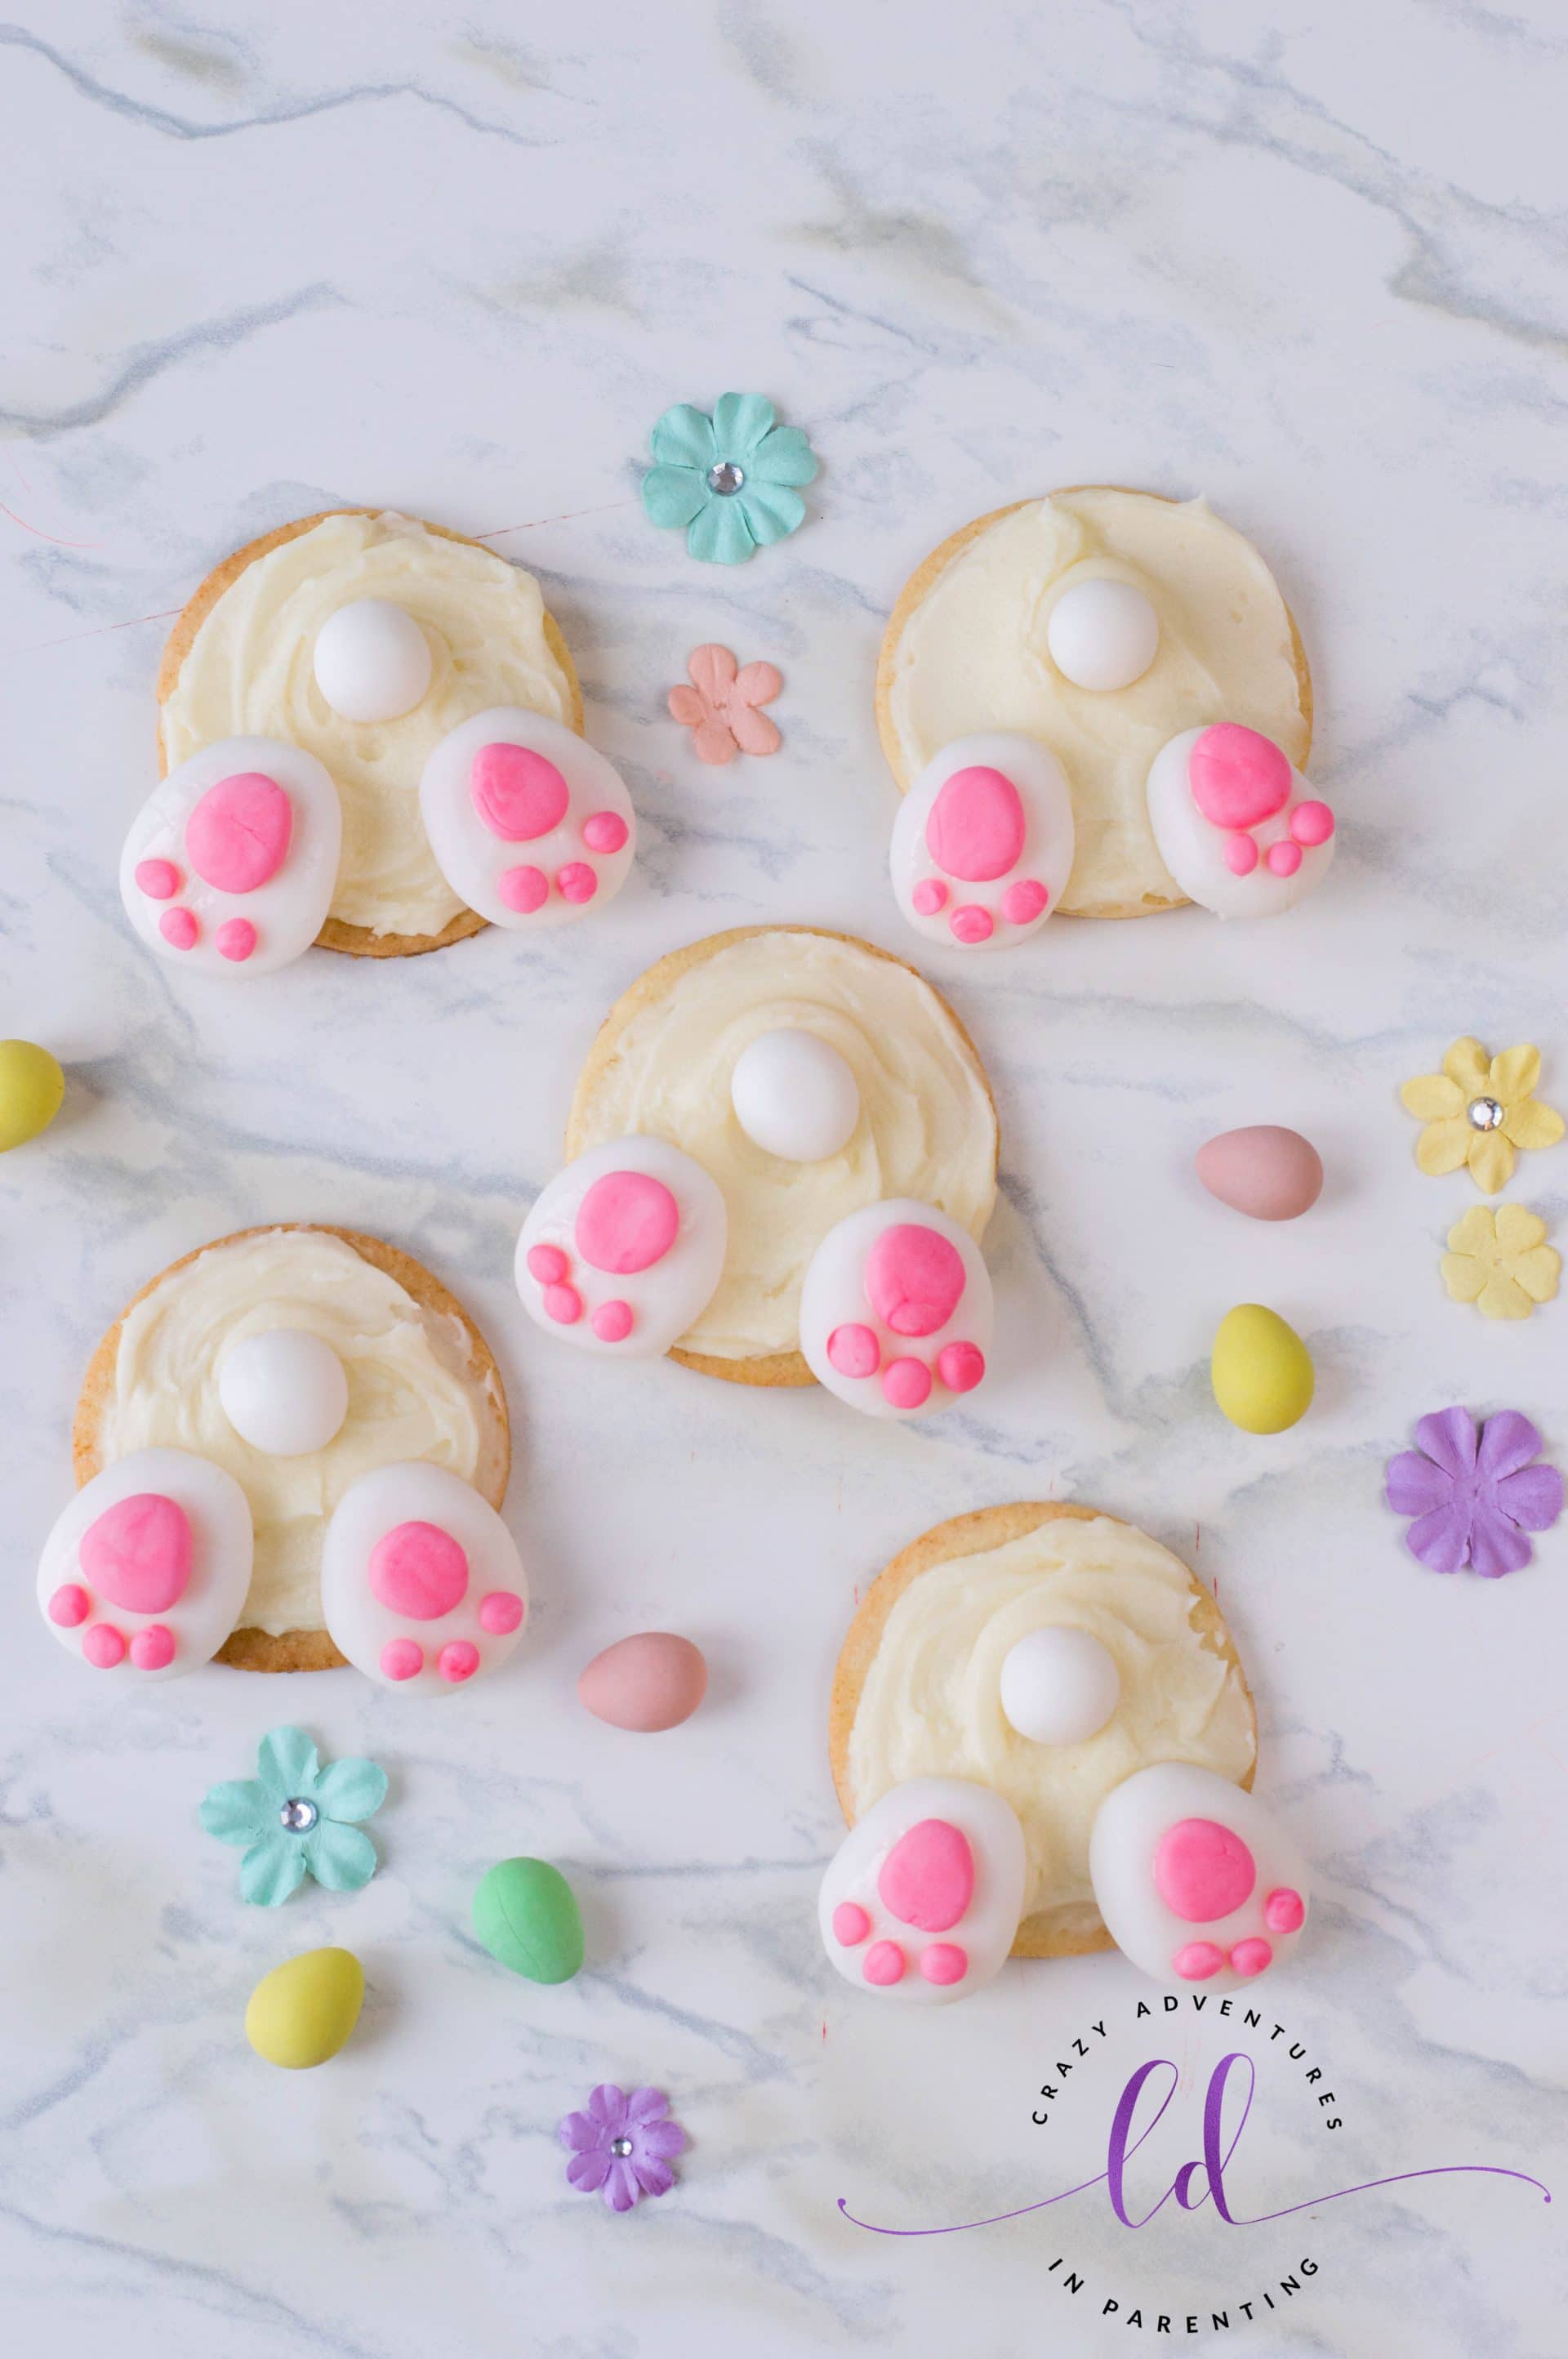
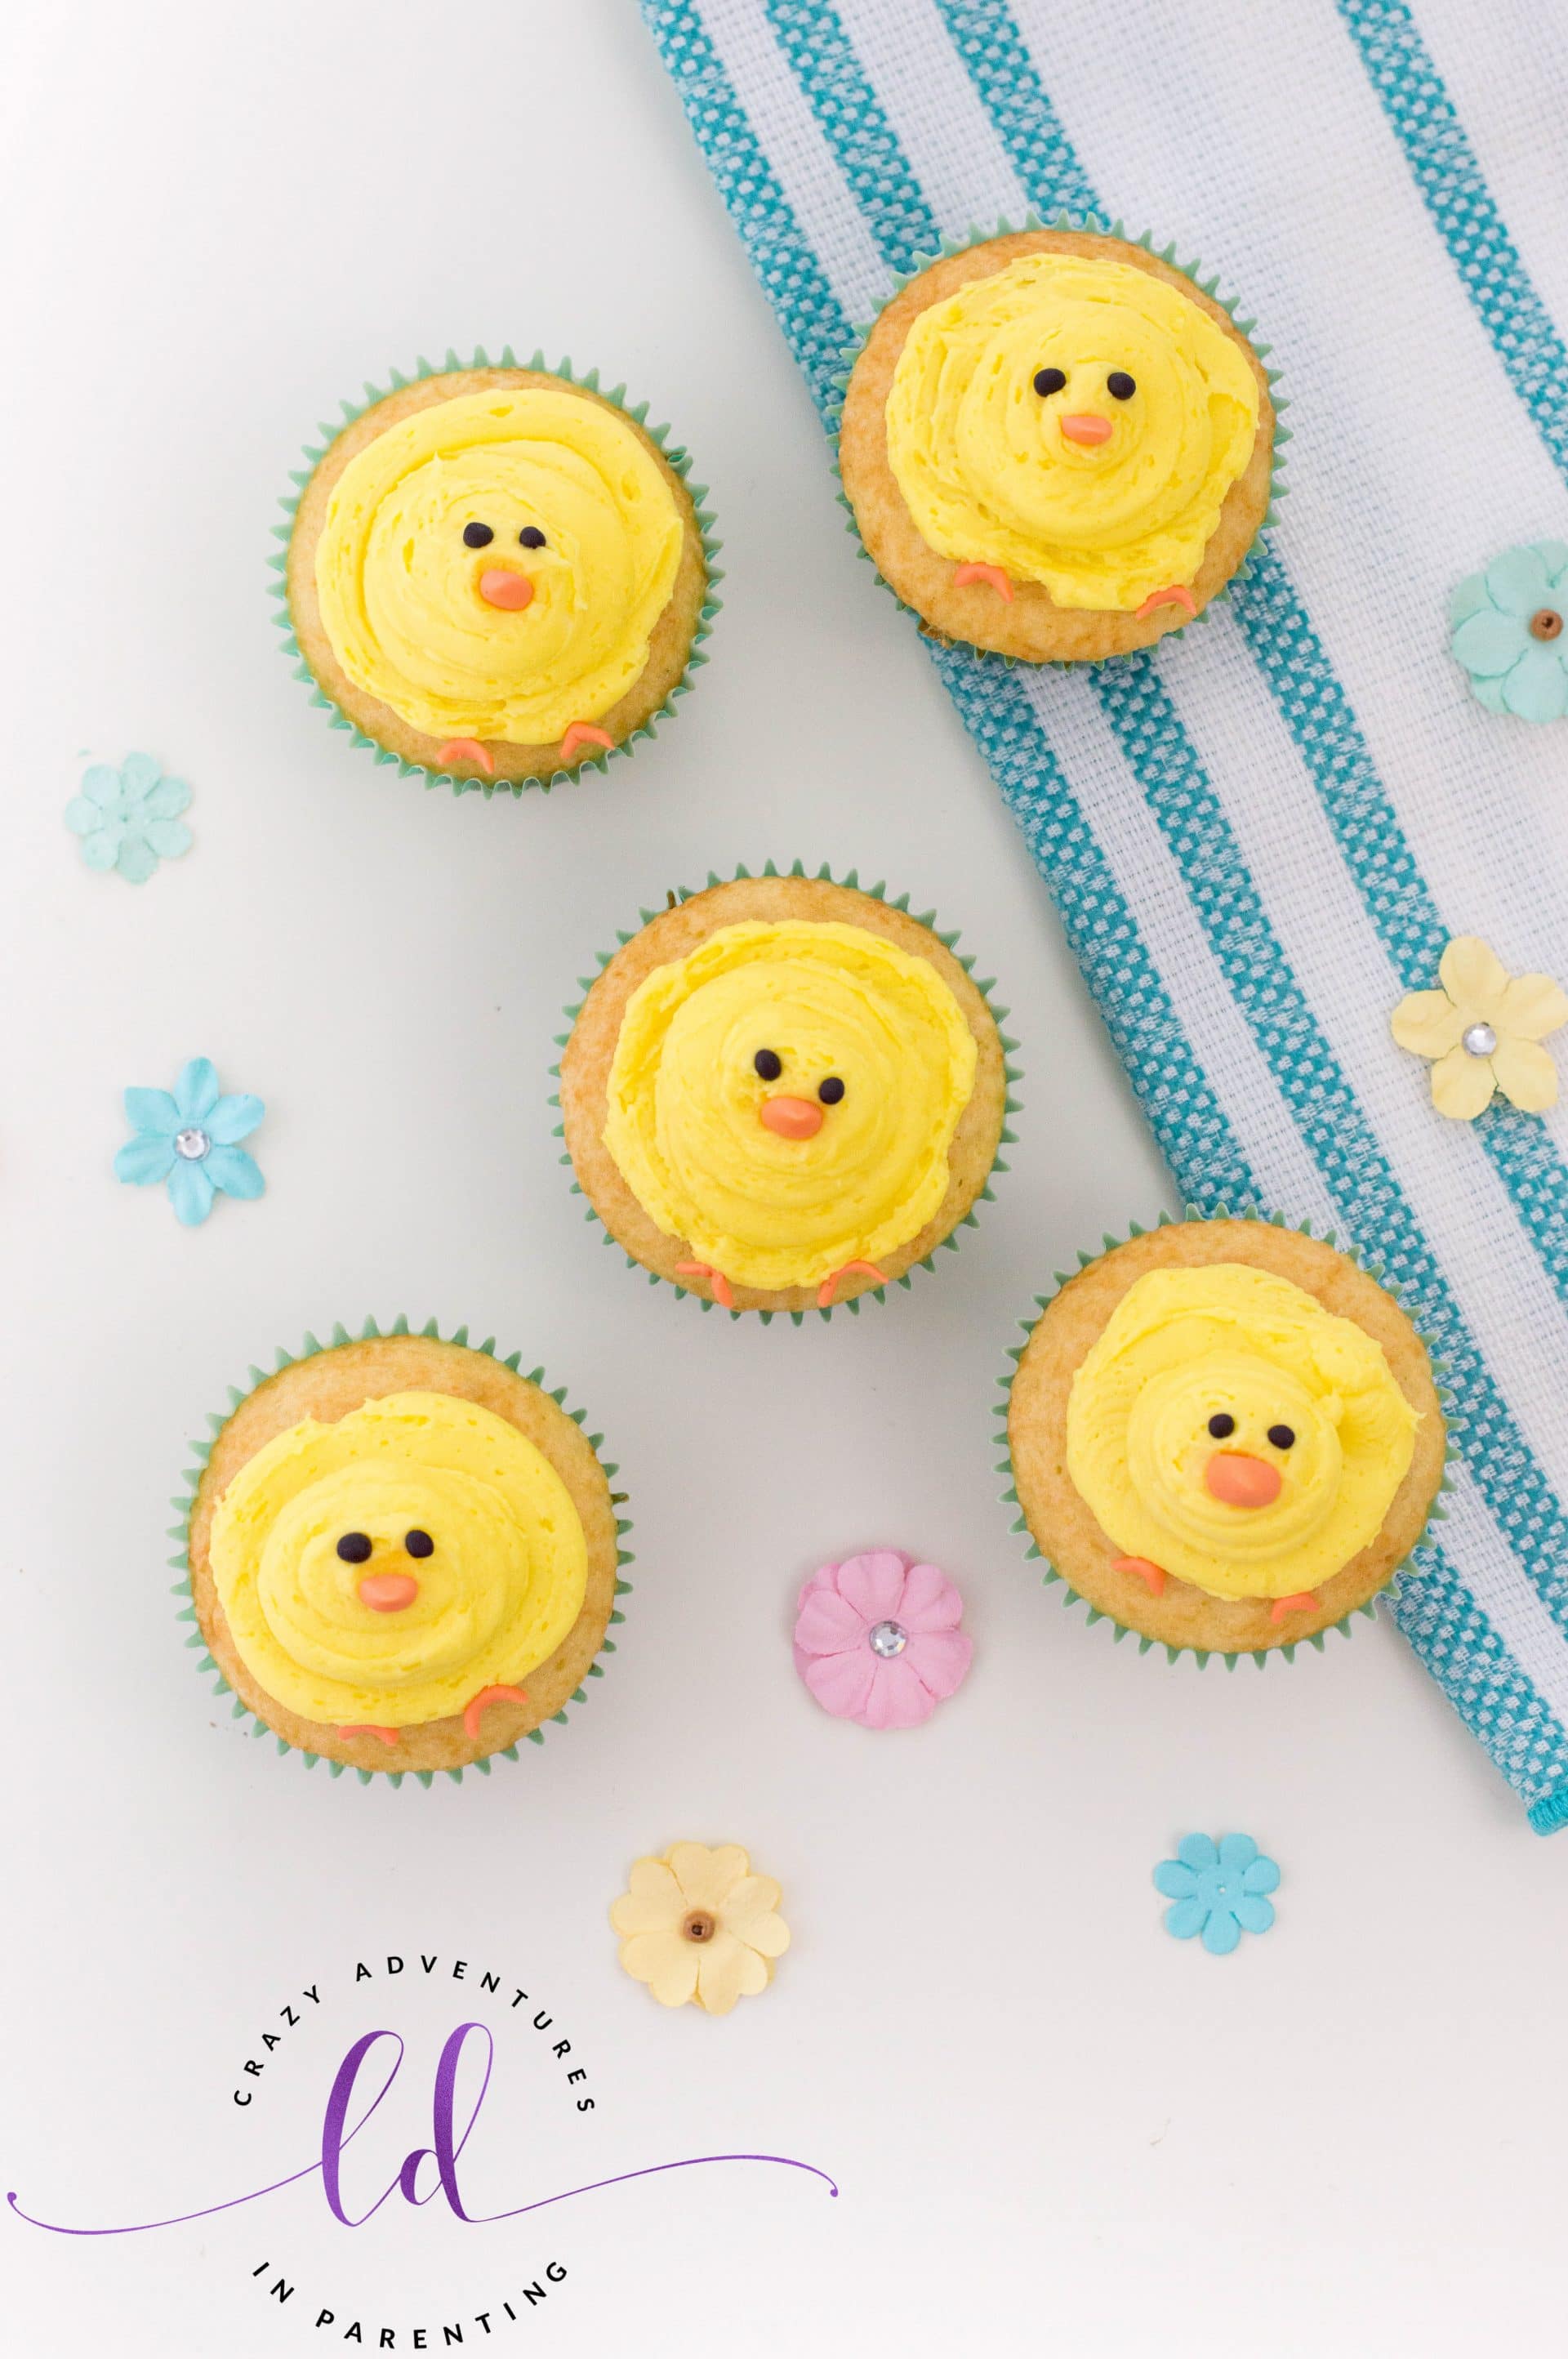
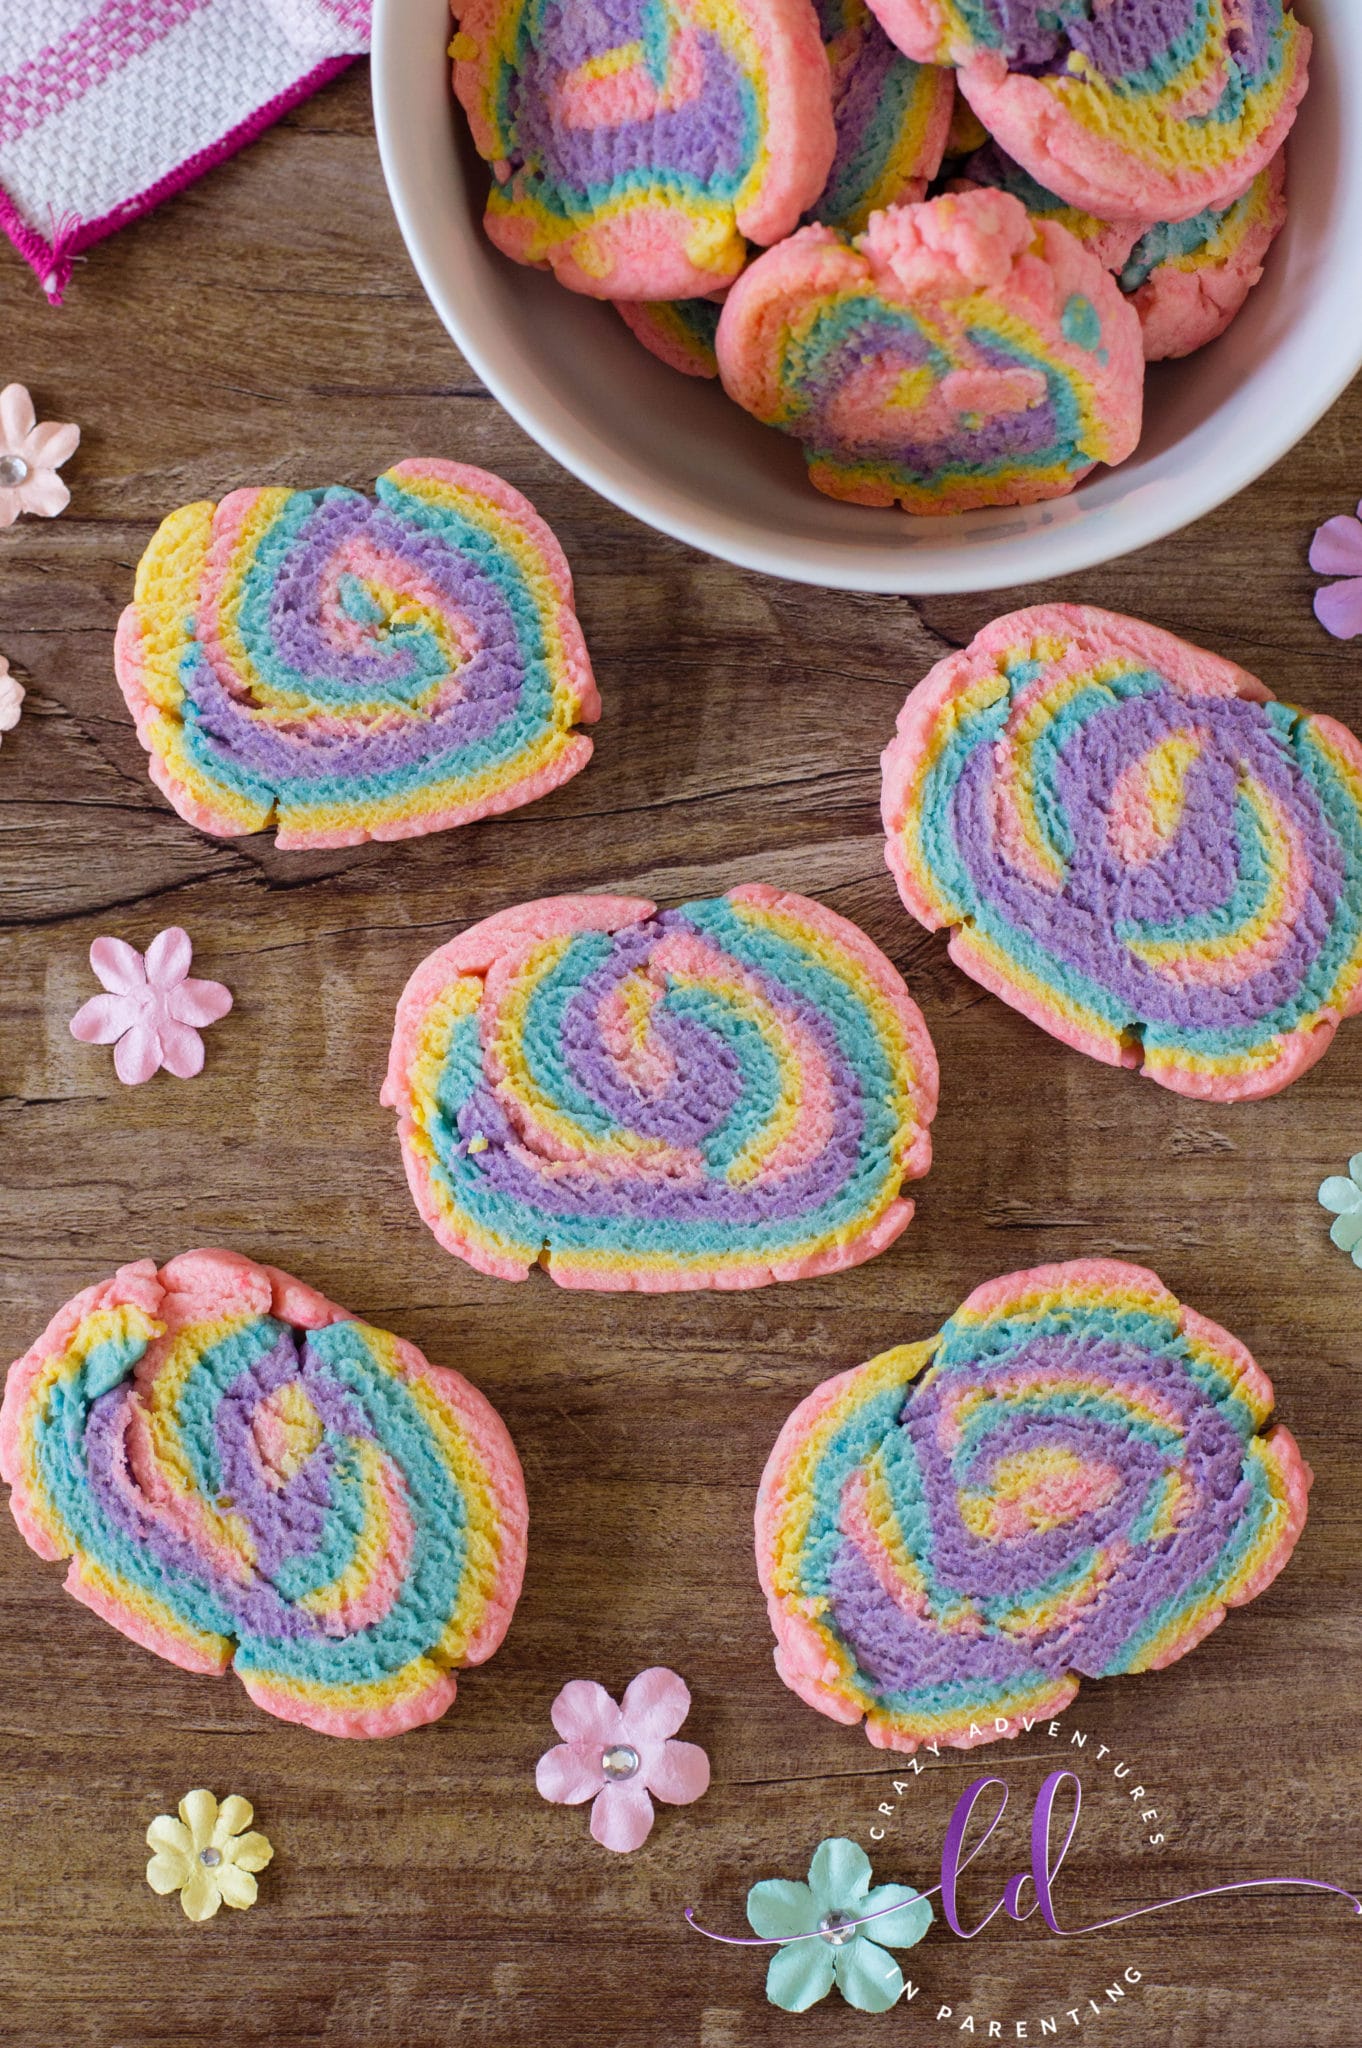
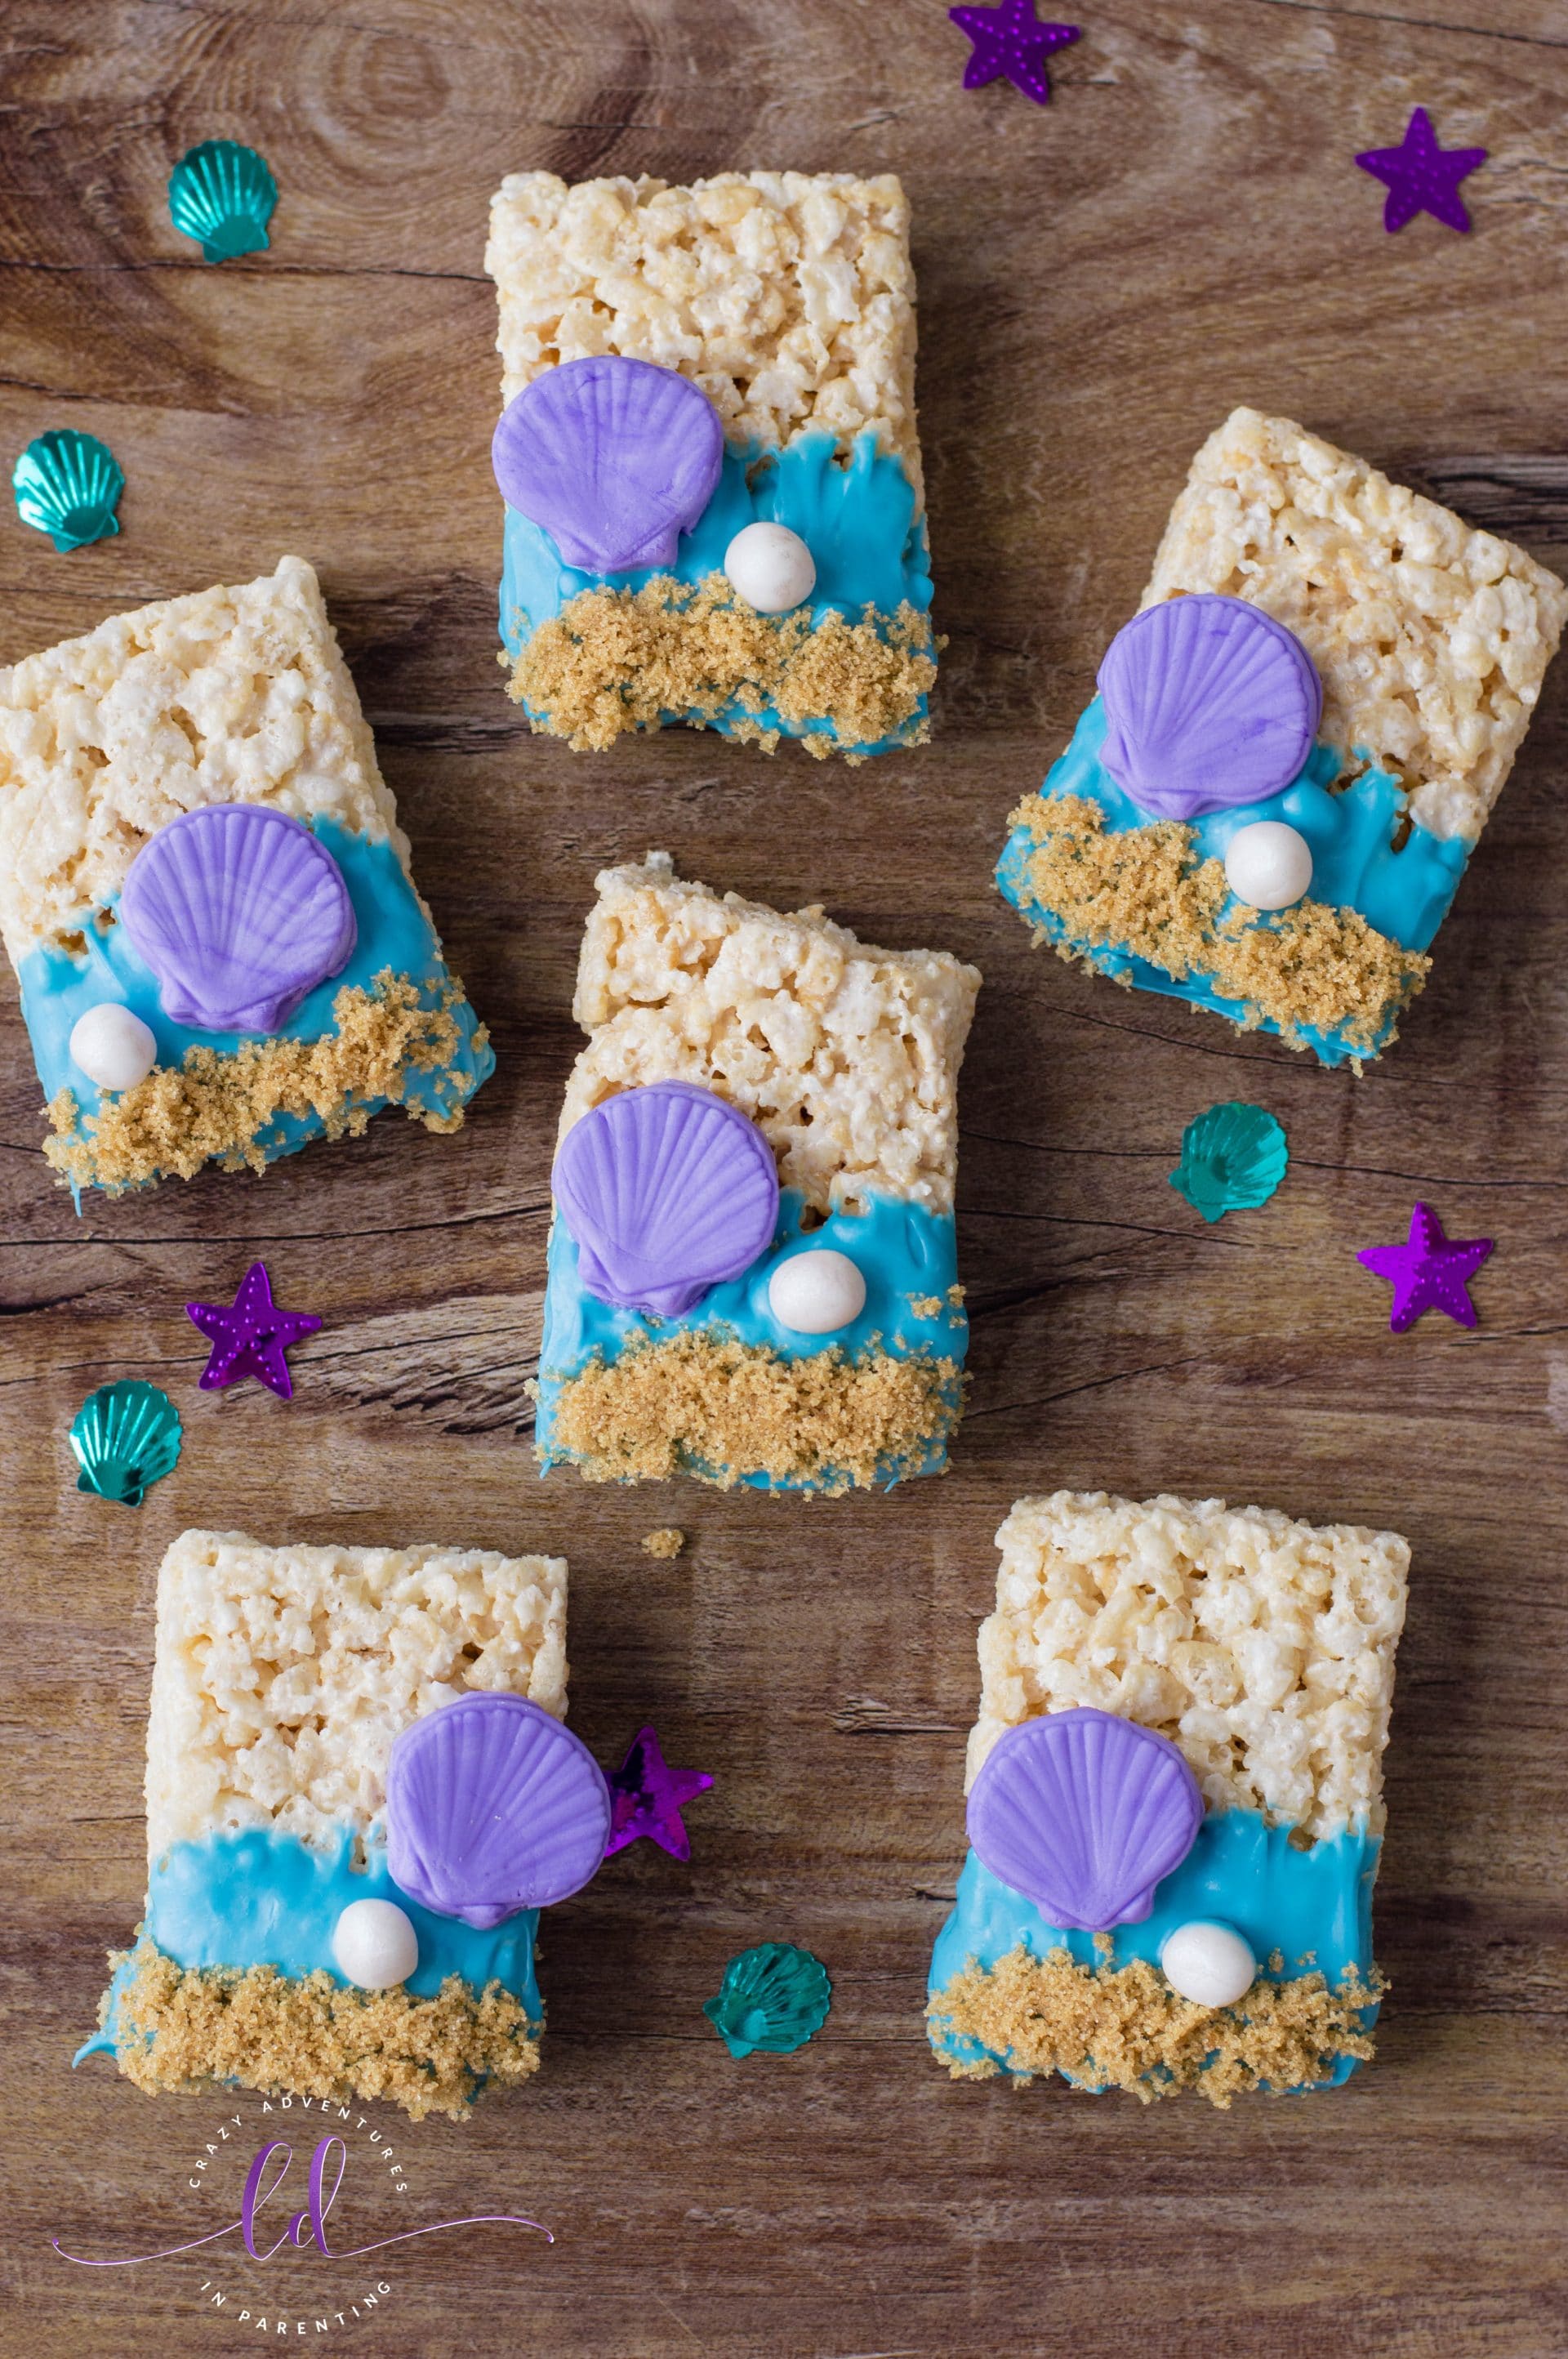
Easter decorating tips and tricks below, too!
CRAVING MORE CRAFTS AND DELICIOUS RECIPES? Subscribe to my newsletter and follow along on Pinterest, Facebook, YouTube, and Instagram for all the latest updates!
Sign up below to receive my newsletter filled with delicious recipes, fun crafts, and family adventures straight into your inbox:
If you love this Easy Bunny Butt Cupcakes Recipe as much as we do, please leave me a 5-star review below and help me share this recipe on Facebook and Pinterest! If you do make the recipe, I hope you’ll share that you tried it on Pinterest! I love it SO MUCH when readers share their feedback! 🙂

-
Line your cupcake tins with the cupcake liners of your choosing (whether paper or silicone).
-
Preheat your oven according to cake mix’s directions.
-
Prepare cupcakes according to cake mix’s directions and bake accordingly.
-
Allow the baked cupcakes to cool completely on a wire cooling rack before decorating.
-
As the cupcakes cool, prepare the bunny toppings.
-
Cut each regular-sized marshmallow in half, lengthwise.
-
Line up the marshmallow halves on wax paper, bottom side up.
-
In a large bowl, mix together softened butter, confectioners’ sugar and milk with an electric or stand mixer. Start on low and increase to high to get it fully whipped and blended thoroughly.
-
Once all ingredients are well combined and smooth, the buttercream is complete and ready to proceed.
-
Scoop a ¼ cup of the buttercream into a separate bowl and tint with one small drop of pink gel food coloring.
-
Scoop pink buttercream into a piping bag with Wilton tip #5 attached.
-
Frost 3 small circles on the bottom of each marshmallow, followed by a large oval on top.
-
Scoop the remaining un-tinted buttercream into another piping bag with Wilton tip #12 attached and frost each cupcake in a circular pattern.
-
Place one mini marshmallow at the top of each cupcake to represent the bunny’s “tail” while placing two “bunny feet” on each cupcake at the bottom, angling slightly outward. Repeat for each cupcake until they’re all decorated with a “tail” and “two feet” on each!
-
Serve and enjoy!

Meet Lisa!
Hi, I’m Lisa! Welcome to my perfectly imperfect corner of the web where I’ve chronicled my life as a mom to “eleventy-billion” kids since 2007! Here I share posts with our family-friendly recipes, crafts and creating art, traveling as a big family, reliving my youth endlessly dancing to 90’s music, and documenting our adventurous life while sipping coffee and basking in the delicious Colorado sunshine.

